Creating Your AnyHow Organization
Now that you have your account setup it's time to setup your Organization.
It's important to understand that Organizations are the cornerstone of all functionality within AnyHow. Think of your organization as your company or the "name" you use under which you do all of your work.
Even if you're a solo freelancer, you need to have an organization to use AnyHow. You can simply name your Organization "Your Name" if you'd like.
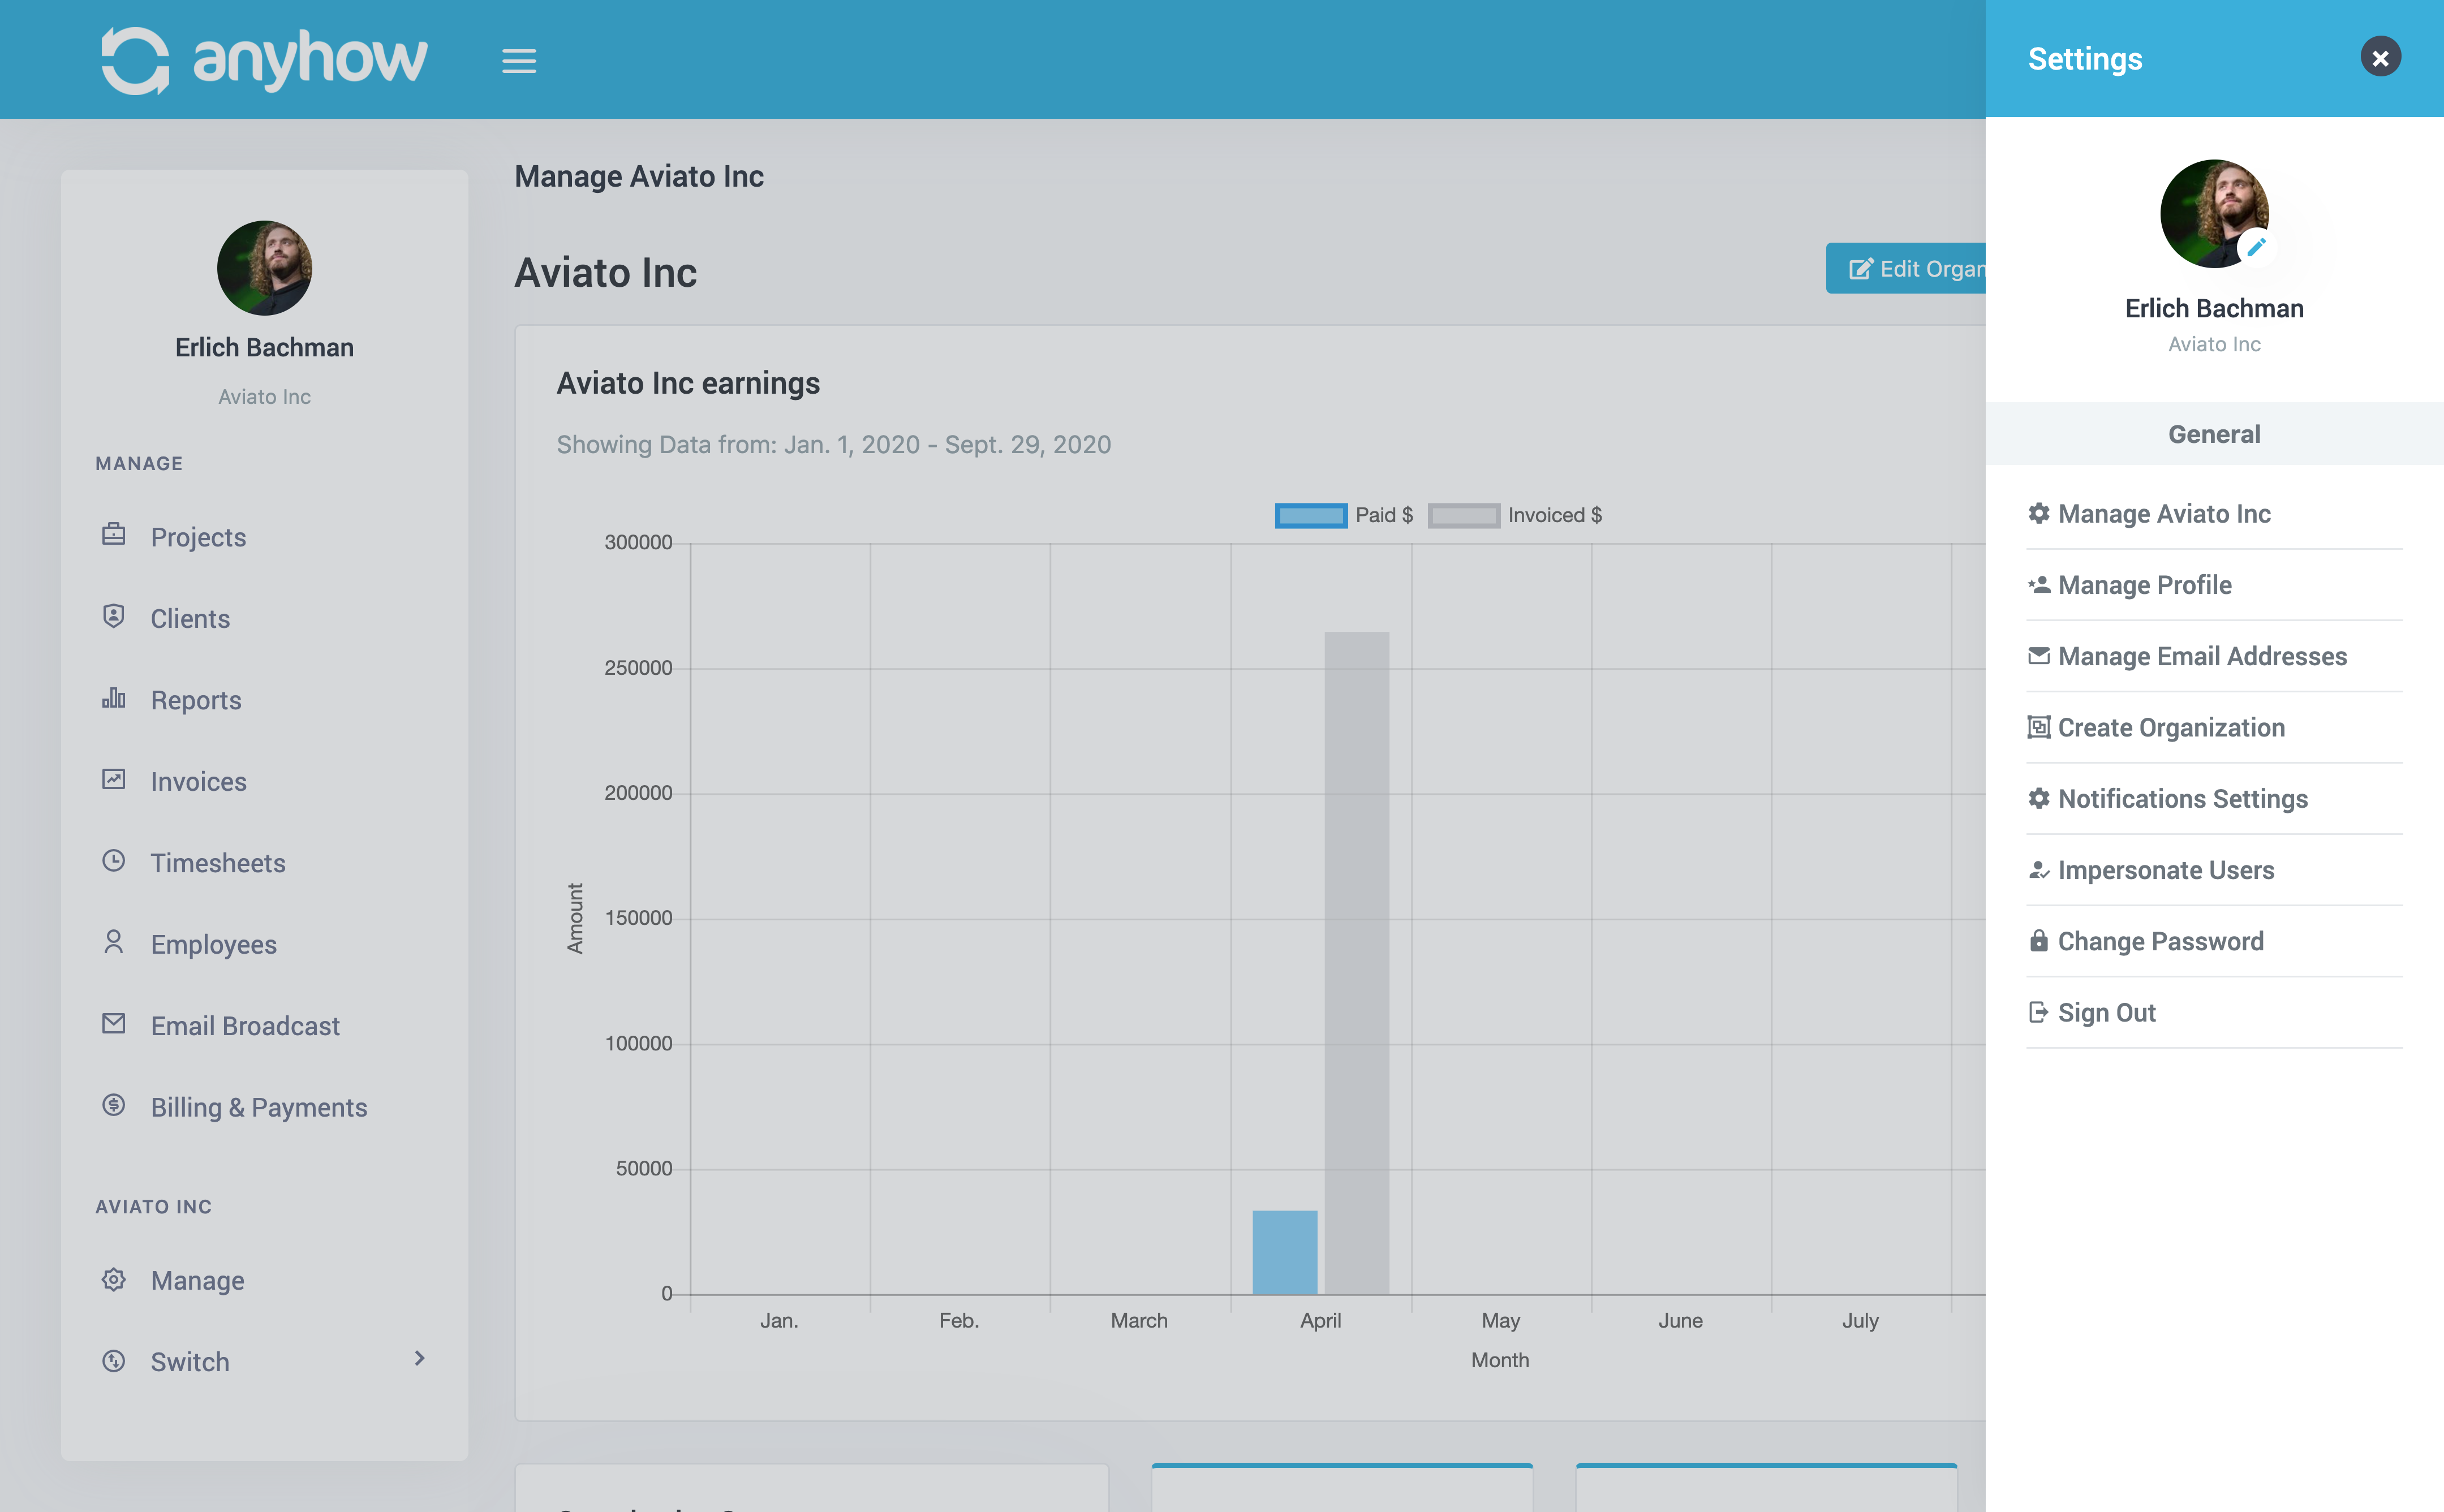
So once logged in, if you don't have any organizations created yet, you should be directed to create one. If not, or if you already have organization(s) created but would like to create a new one, you simply click the menu in the top right corner and then click Create Organization:
Note: You can create multiple organizations, each with their own billing profiles, etc. Also, single accounts can not only own multiple organizations but also belong to many. This means you only need 1 AnyHow account to participate in unlimited organizations.
Now you should see a screen with a group of steps to complete for your new organization.
Step 1 - Organization Details
Here you will be asked to provide some basic details for the organization. They include:
- Name
- Notification email address (where you would like organization notifications to go?)
- Description
- Time zone
- Logo image
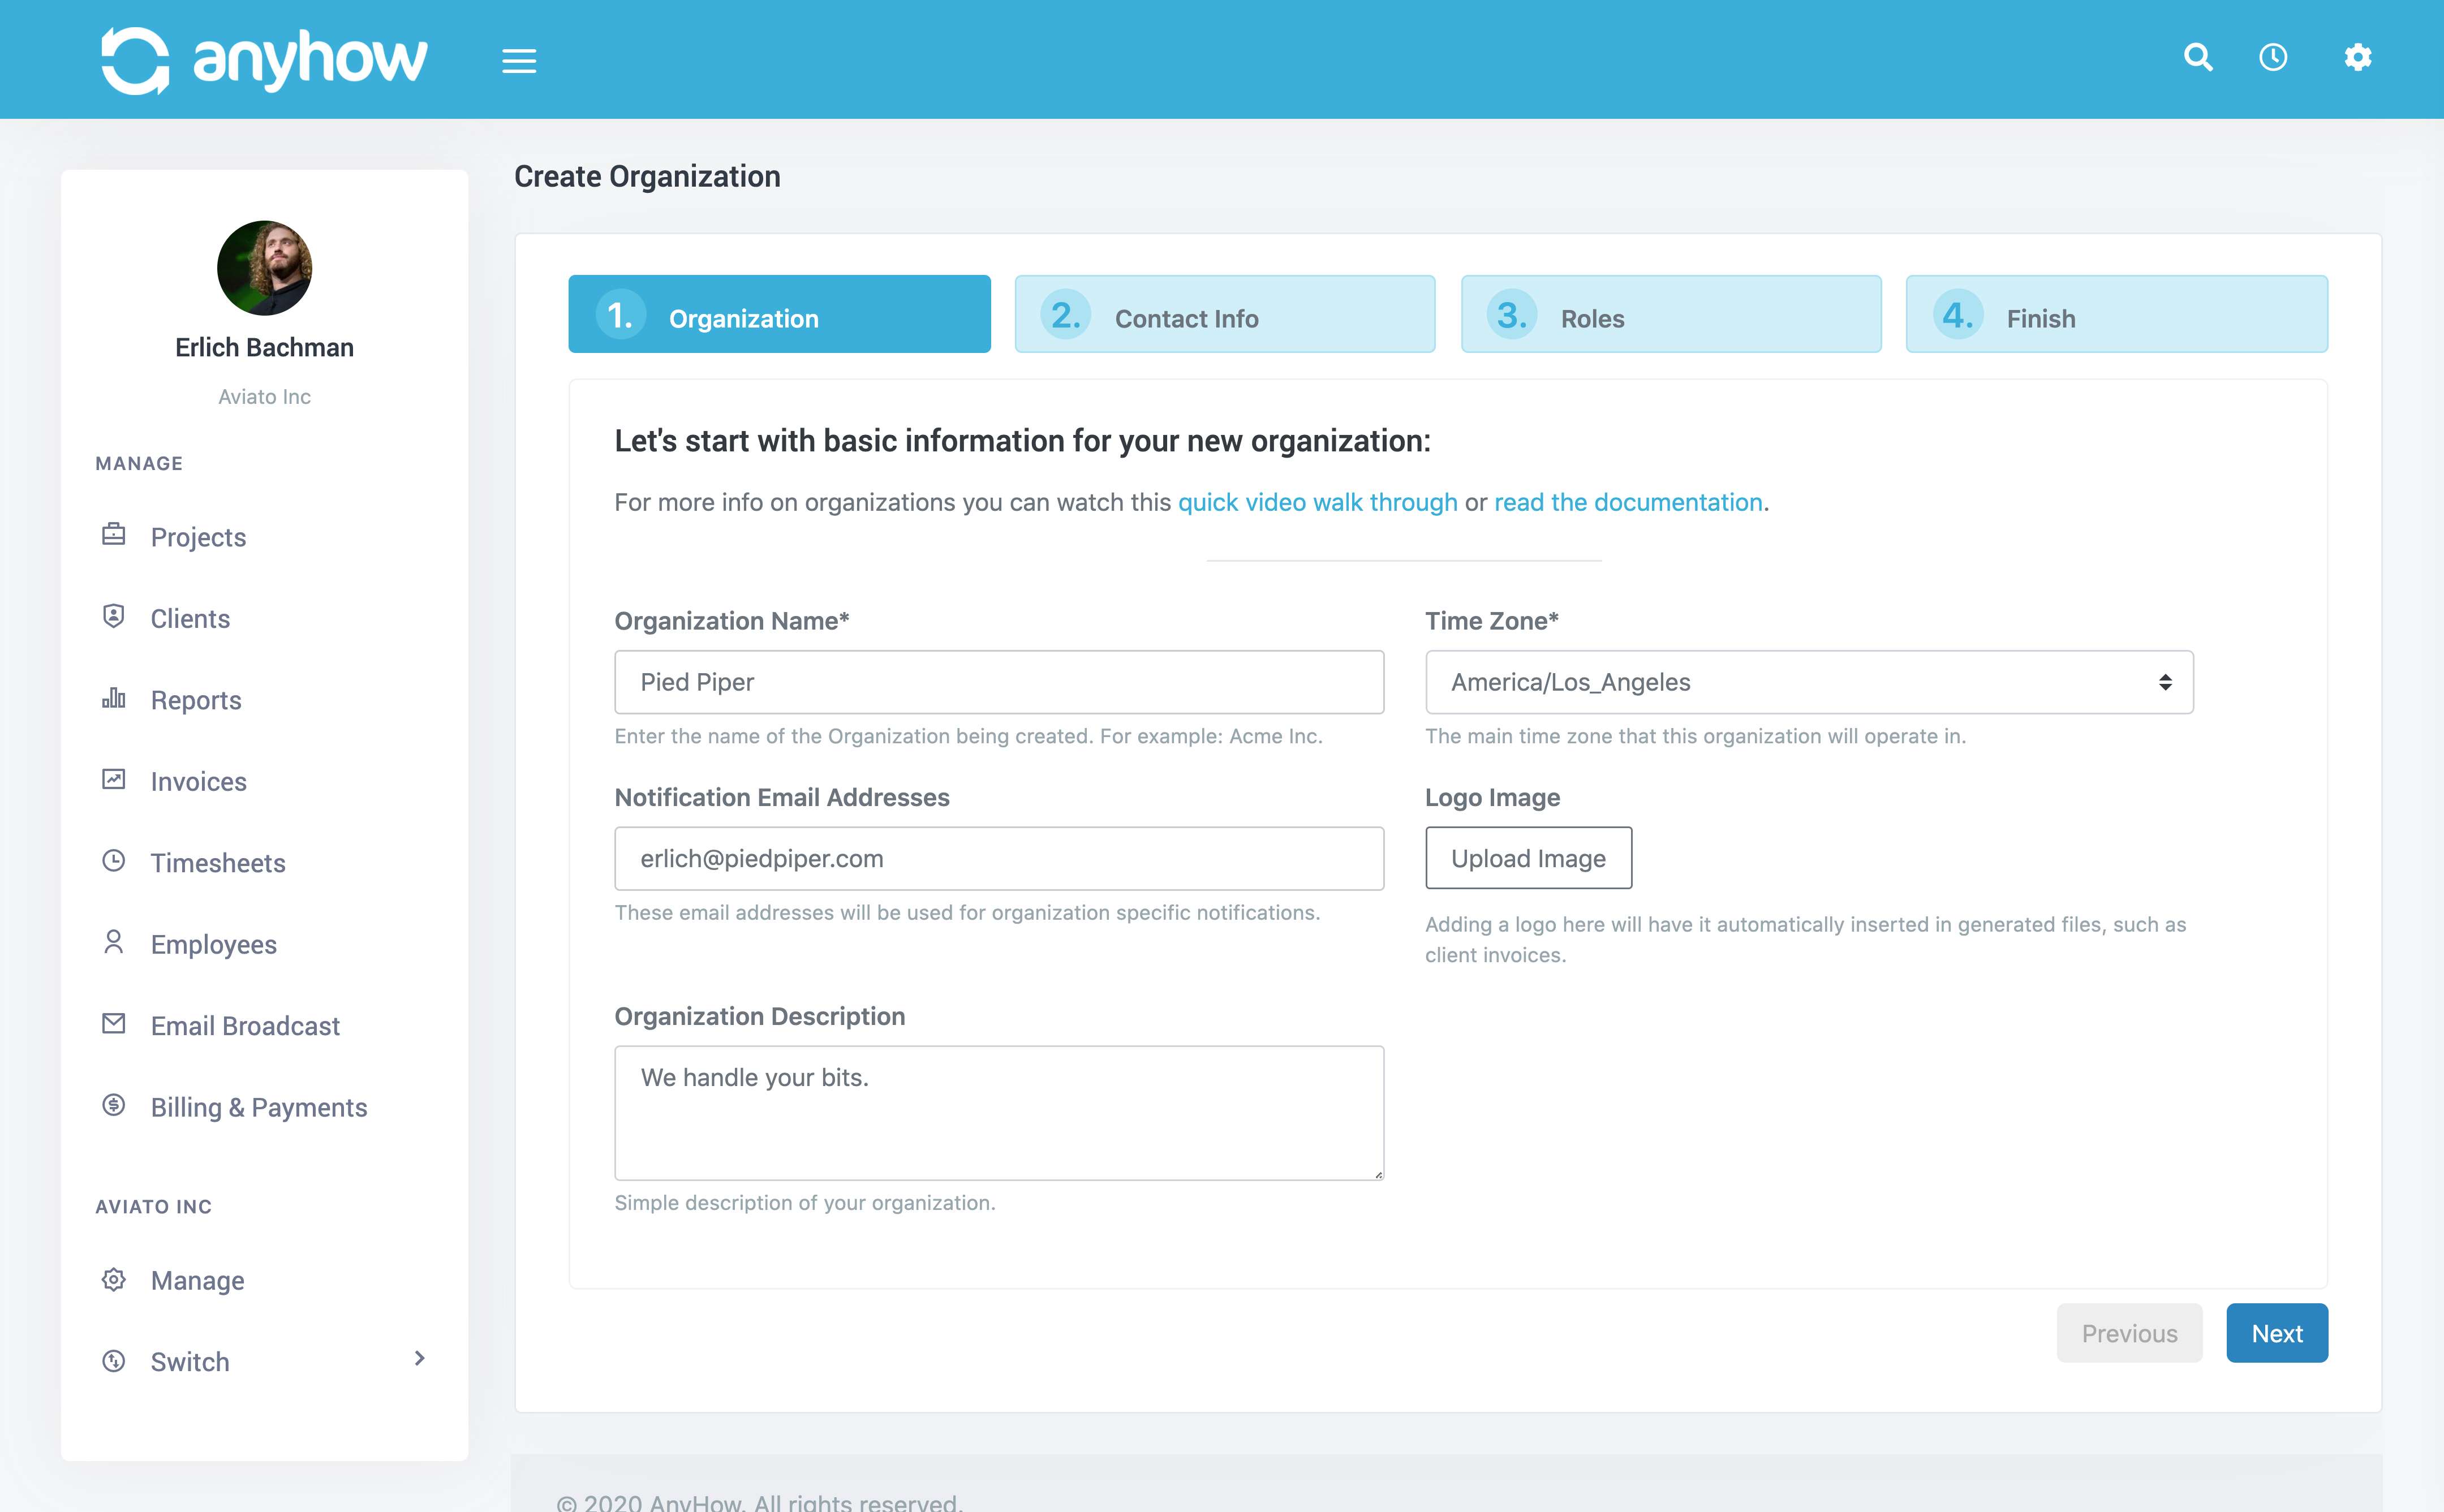
Once you these are completed you click the Next button.
Step 2 - Contact Information
Now you can provide contact information for the organization. This includes:
- Phone numbers
- Address information

Once you these are completed you click the Next button.
Step 3 - Roles
Here is where you can define roles your organization will be offering. Think of a role as a "service" role, or job. Some examples would be "Software Developer", "Paralegal", "Project Manager", or "Business Consultant". Technically any job you do for your clients would quality as a role and you can name them whatever you'd like.
On this step you can add as many roles as you'd like but don't worry, you can always add/edit/remove roles later once the organization is setup.
Each role is just a placeholder within the organization. In other words, a service offering. You can customize financial costs, etc. at the project level for roles so don't worry about that part quite yet.
To create roles simply enter the following:
- Name
- Description
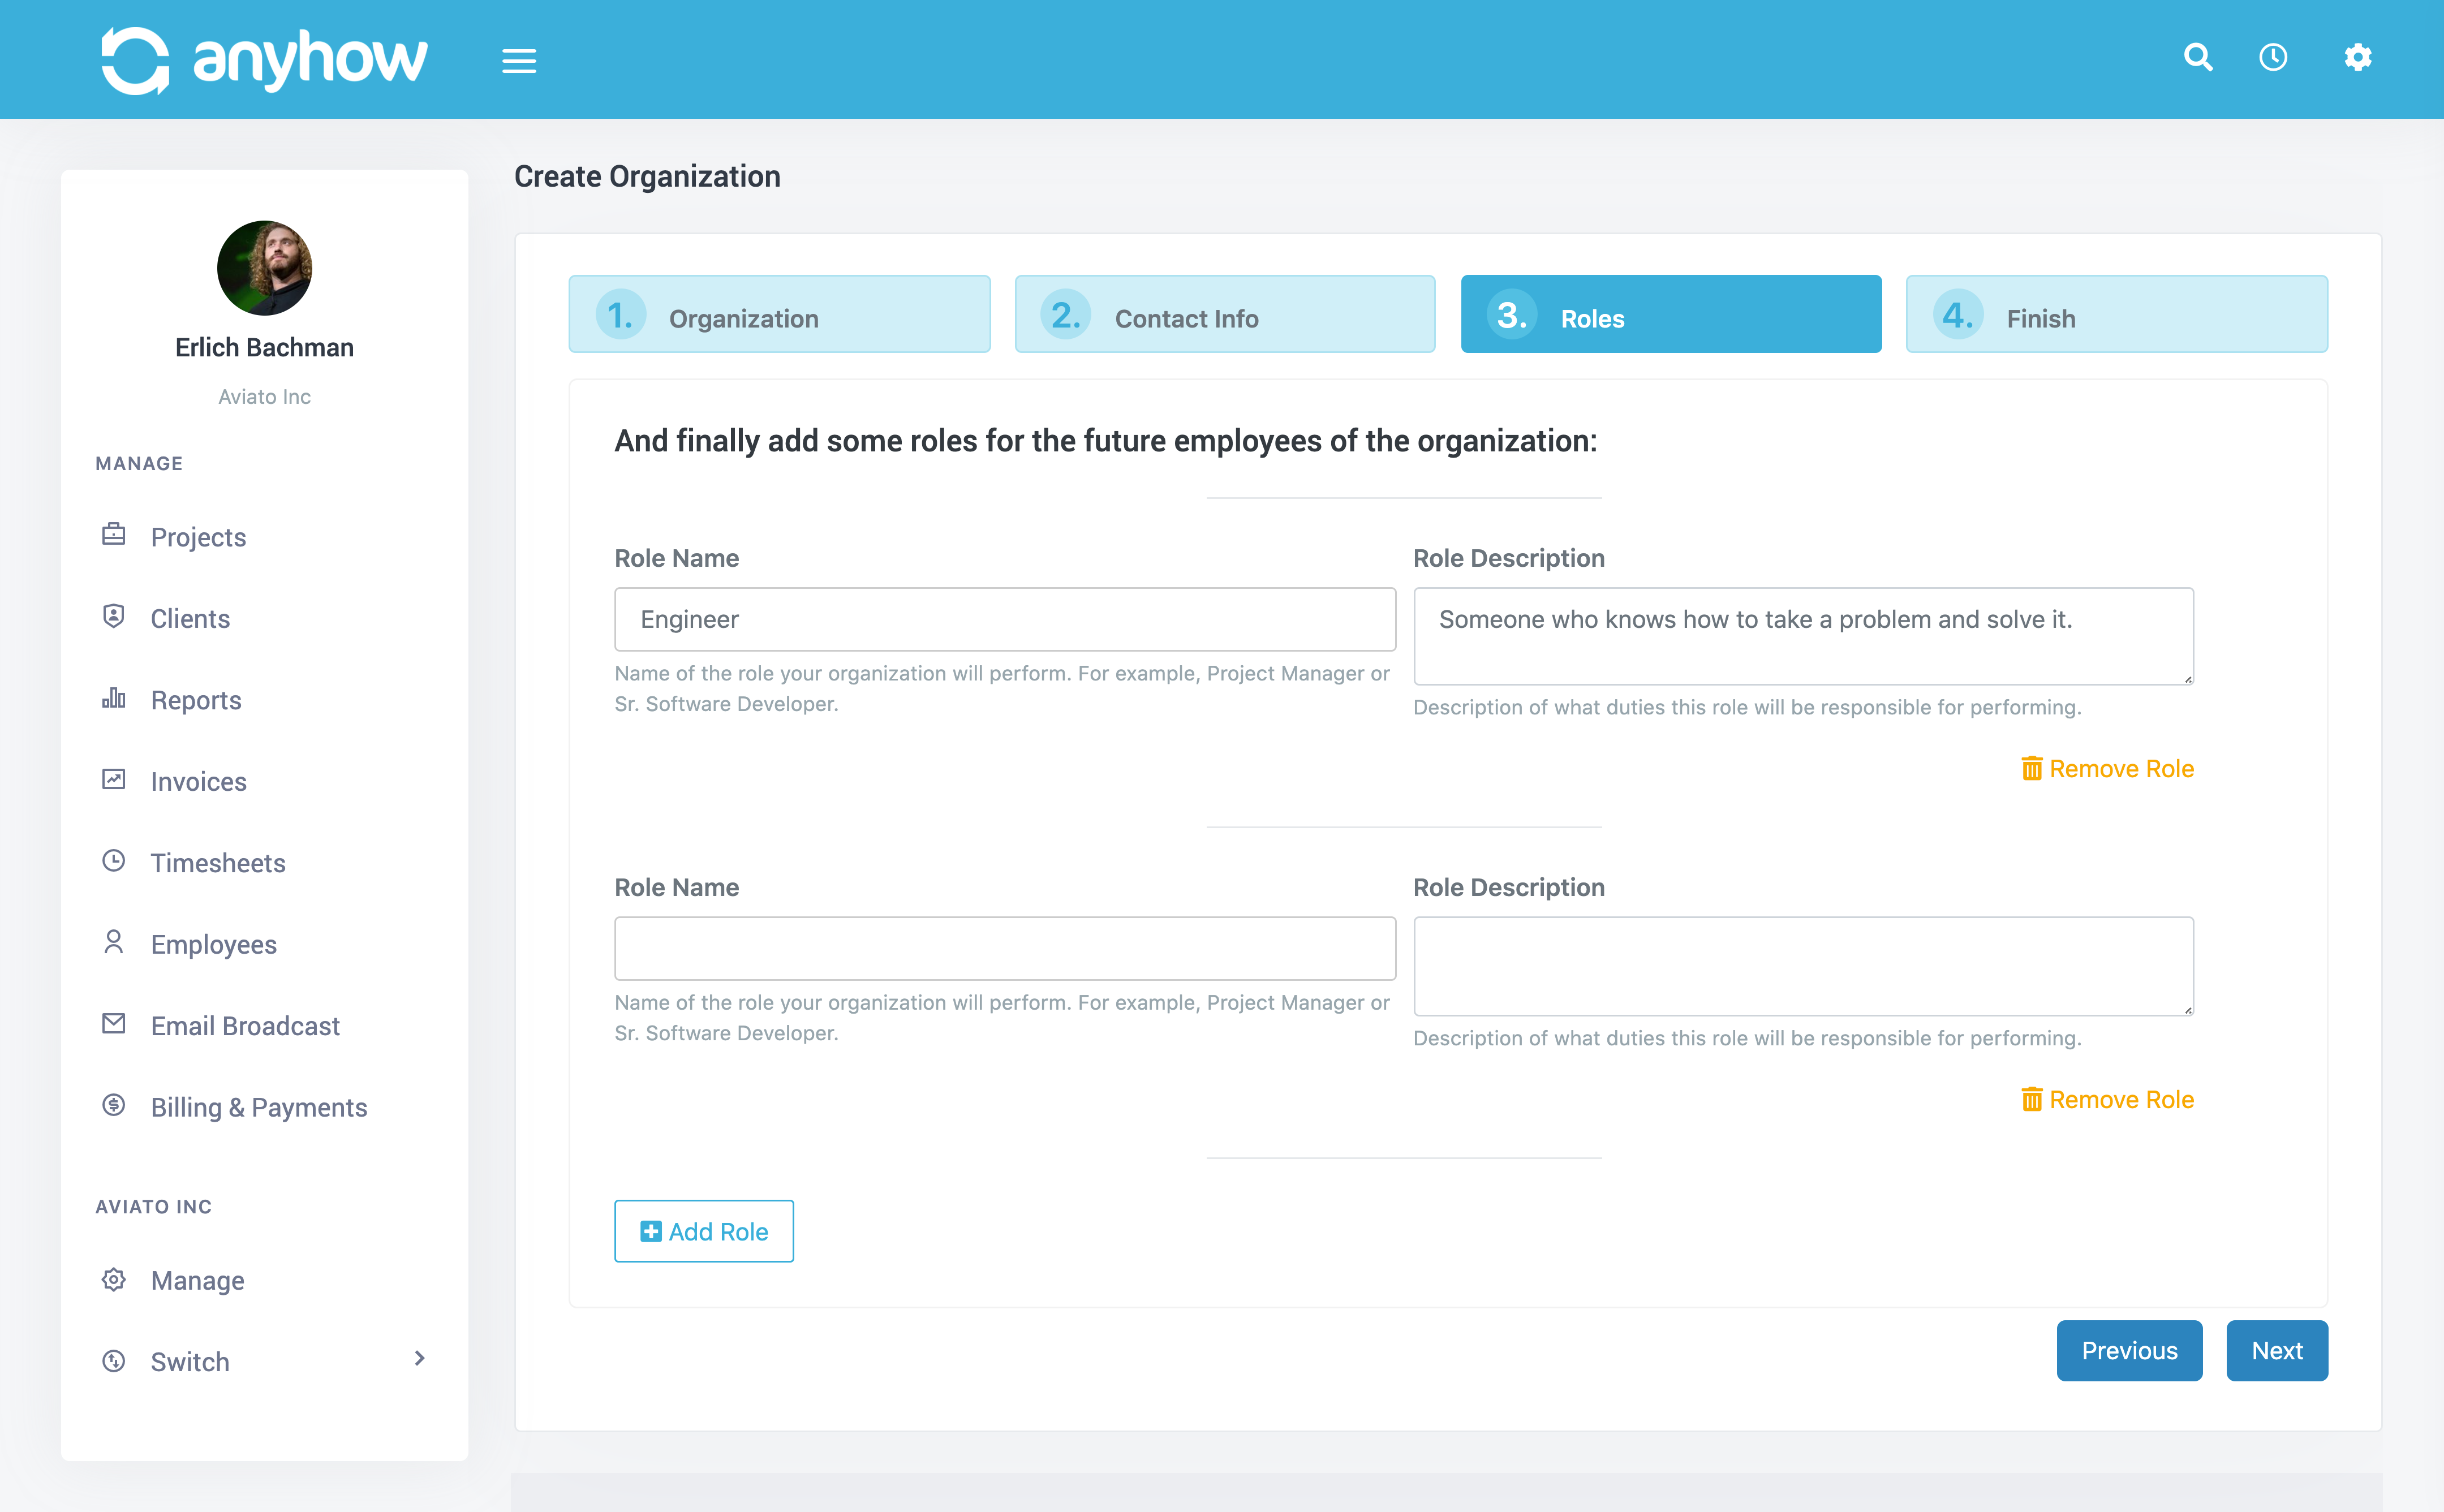
Use the Add Role button to add more roles at this stage. Again, you can always add/edit these later as well.
Use the Remove Role link to remove a specific role at this screen as well.
Step 4 - Review & Finish
At this point you're basically done. Just review the information on the screen and click the Finish button.
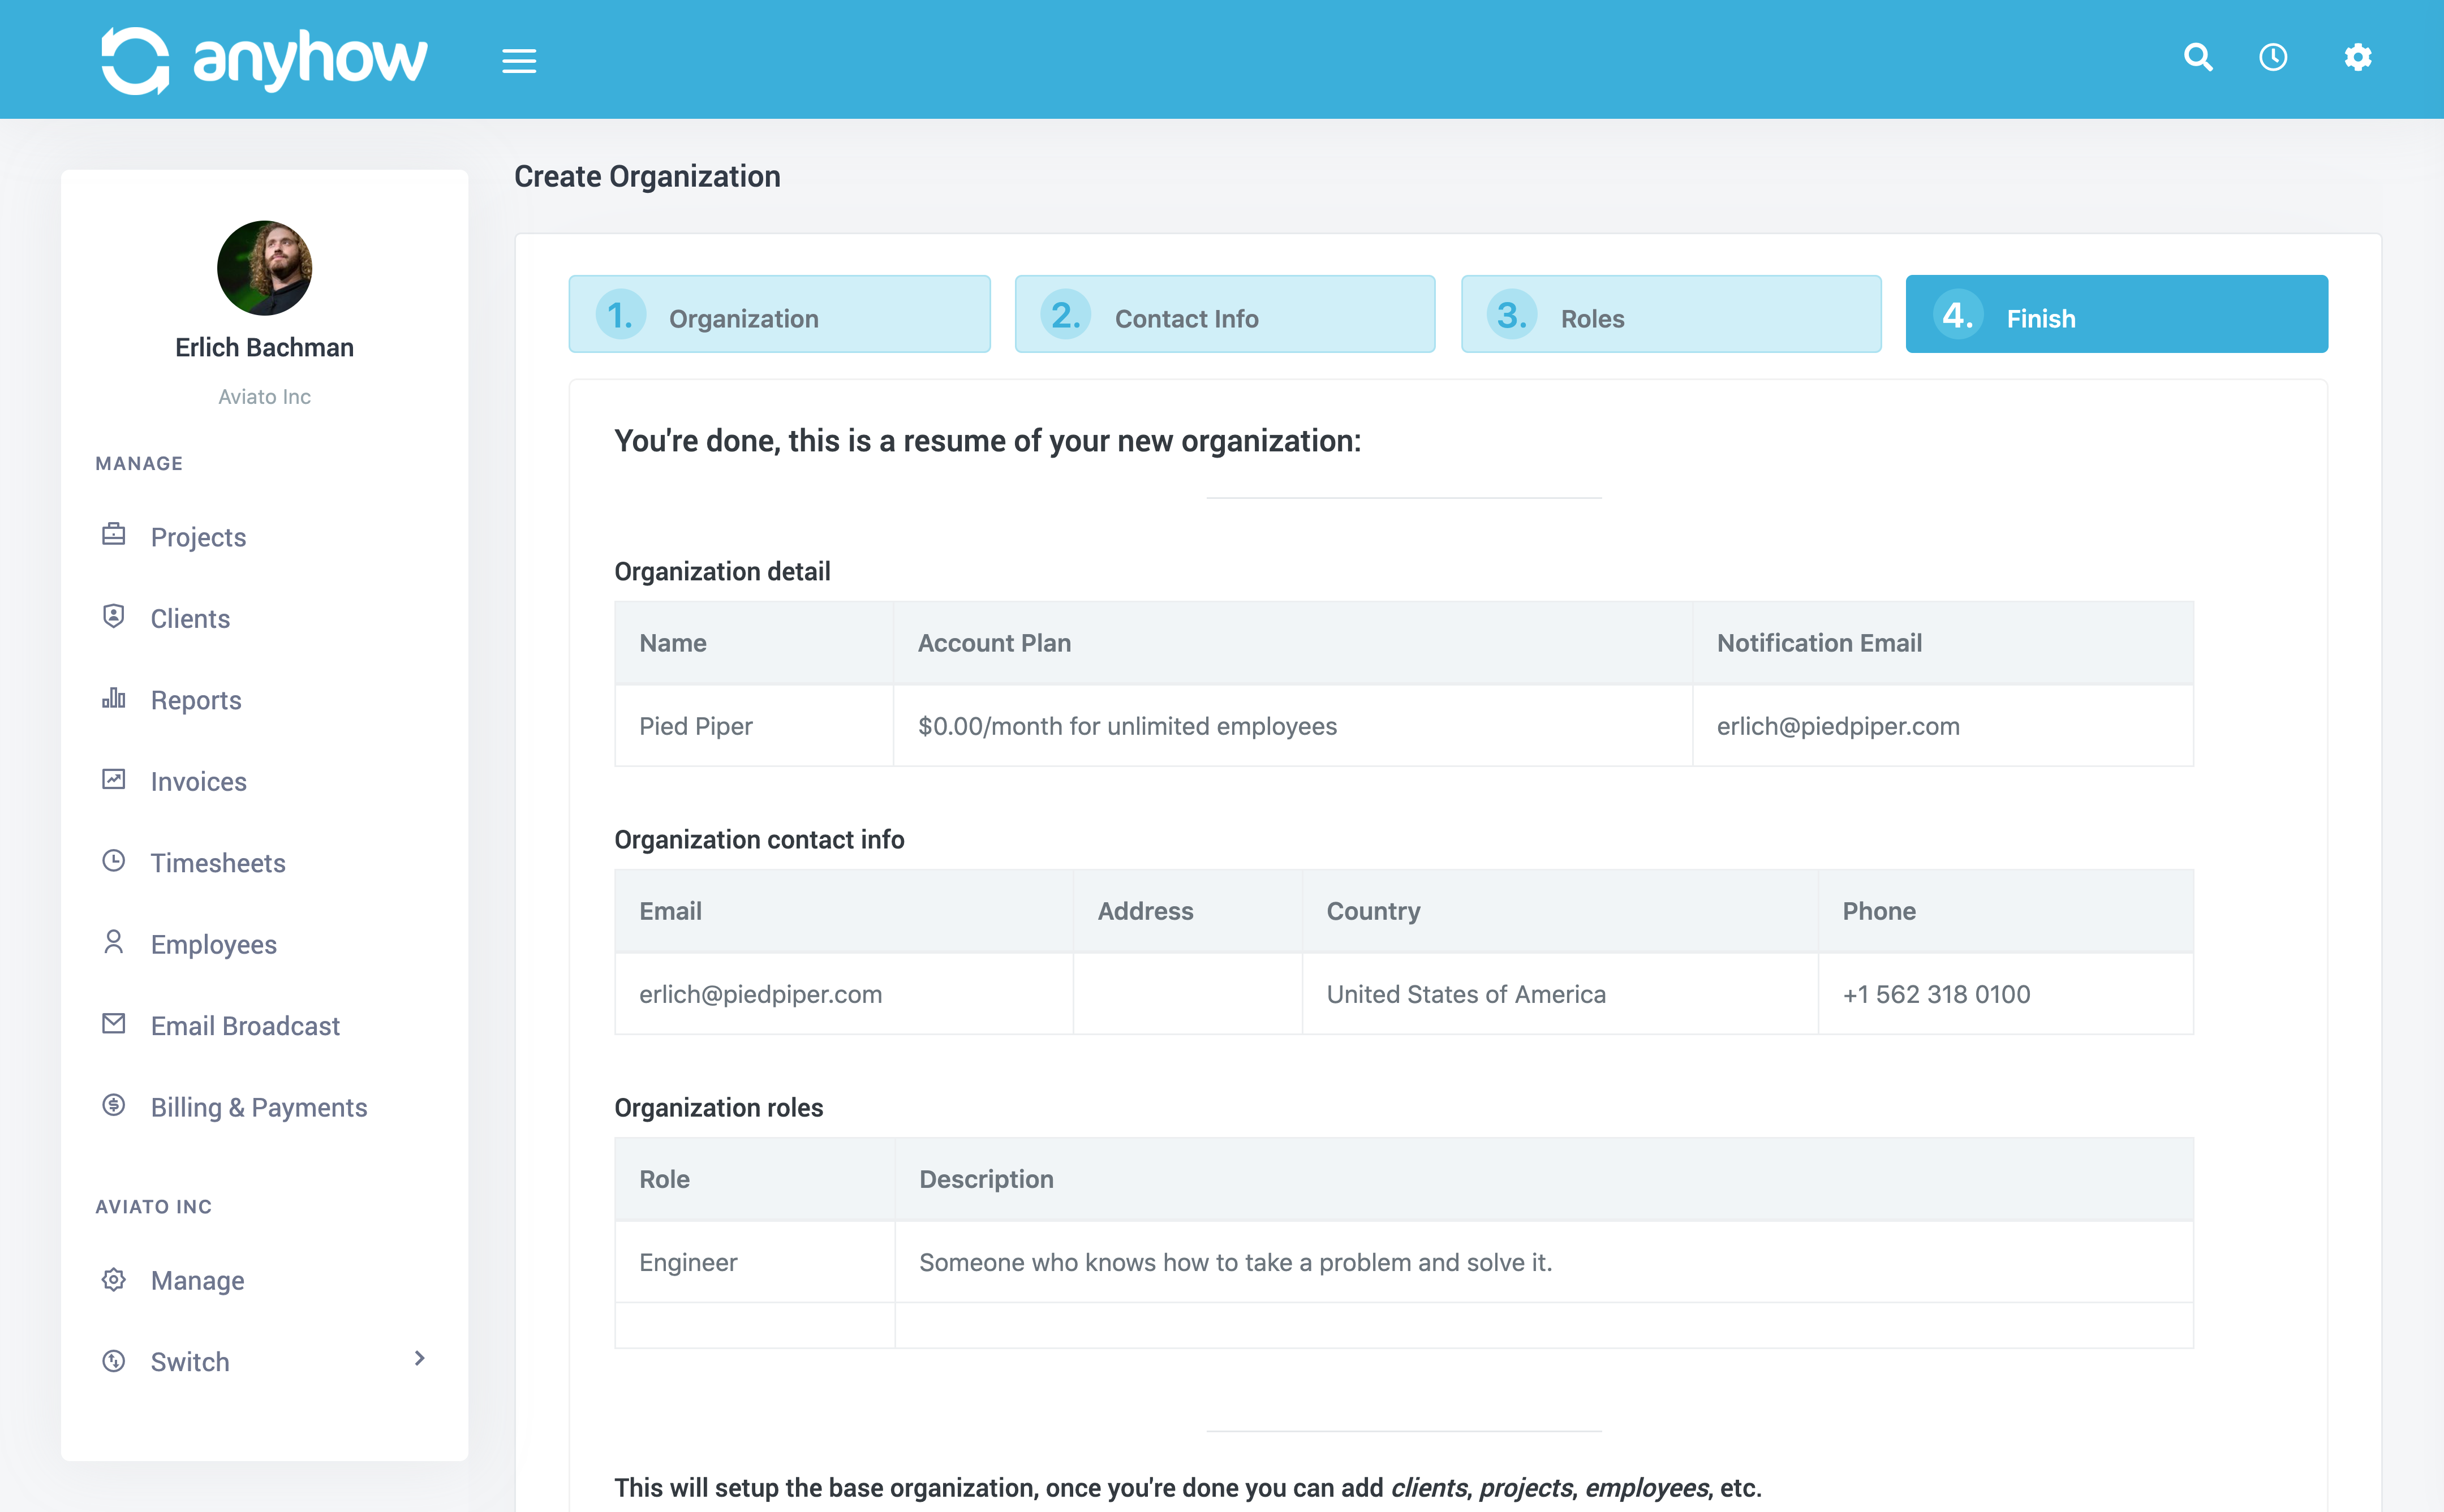
If you'd like to change something you can go back by using the Previous or Back buttons on any screen.