Creating Client Projects In AnyHow
Now that you've added some clients it's time to add some client projects.
Getting Started
Enter the Manage area of your organization by clicking the Manage link in the lower left corner of your window. Here you will see a new menu on the left hand side. Click the Clients option in the menu and you will be taken to the clients section of your organization.
Once in the client listings you can click into the client you want to add a project for. This will take you to the client detail page.
On the left menu you should see Projects listed under the current client label, click that.
Now you should see all active projects (by default) for the client, if there are any currently active. You can filter as needed.
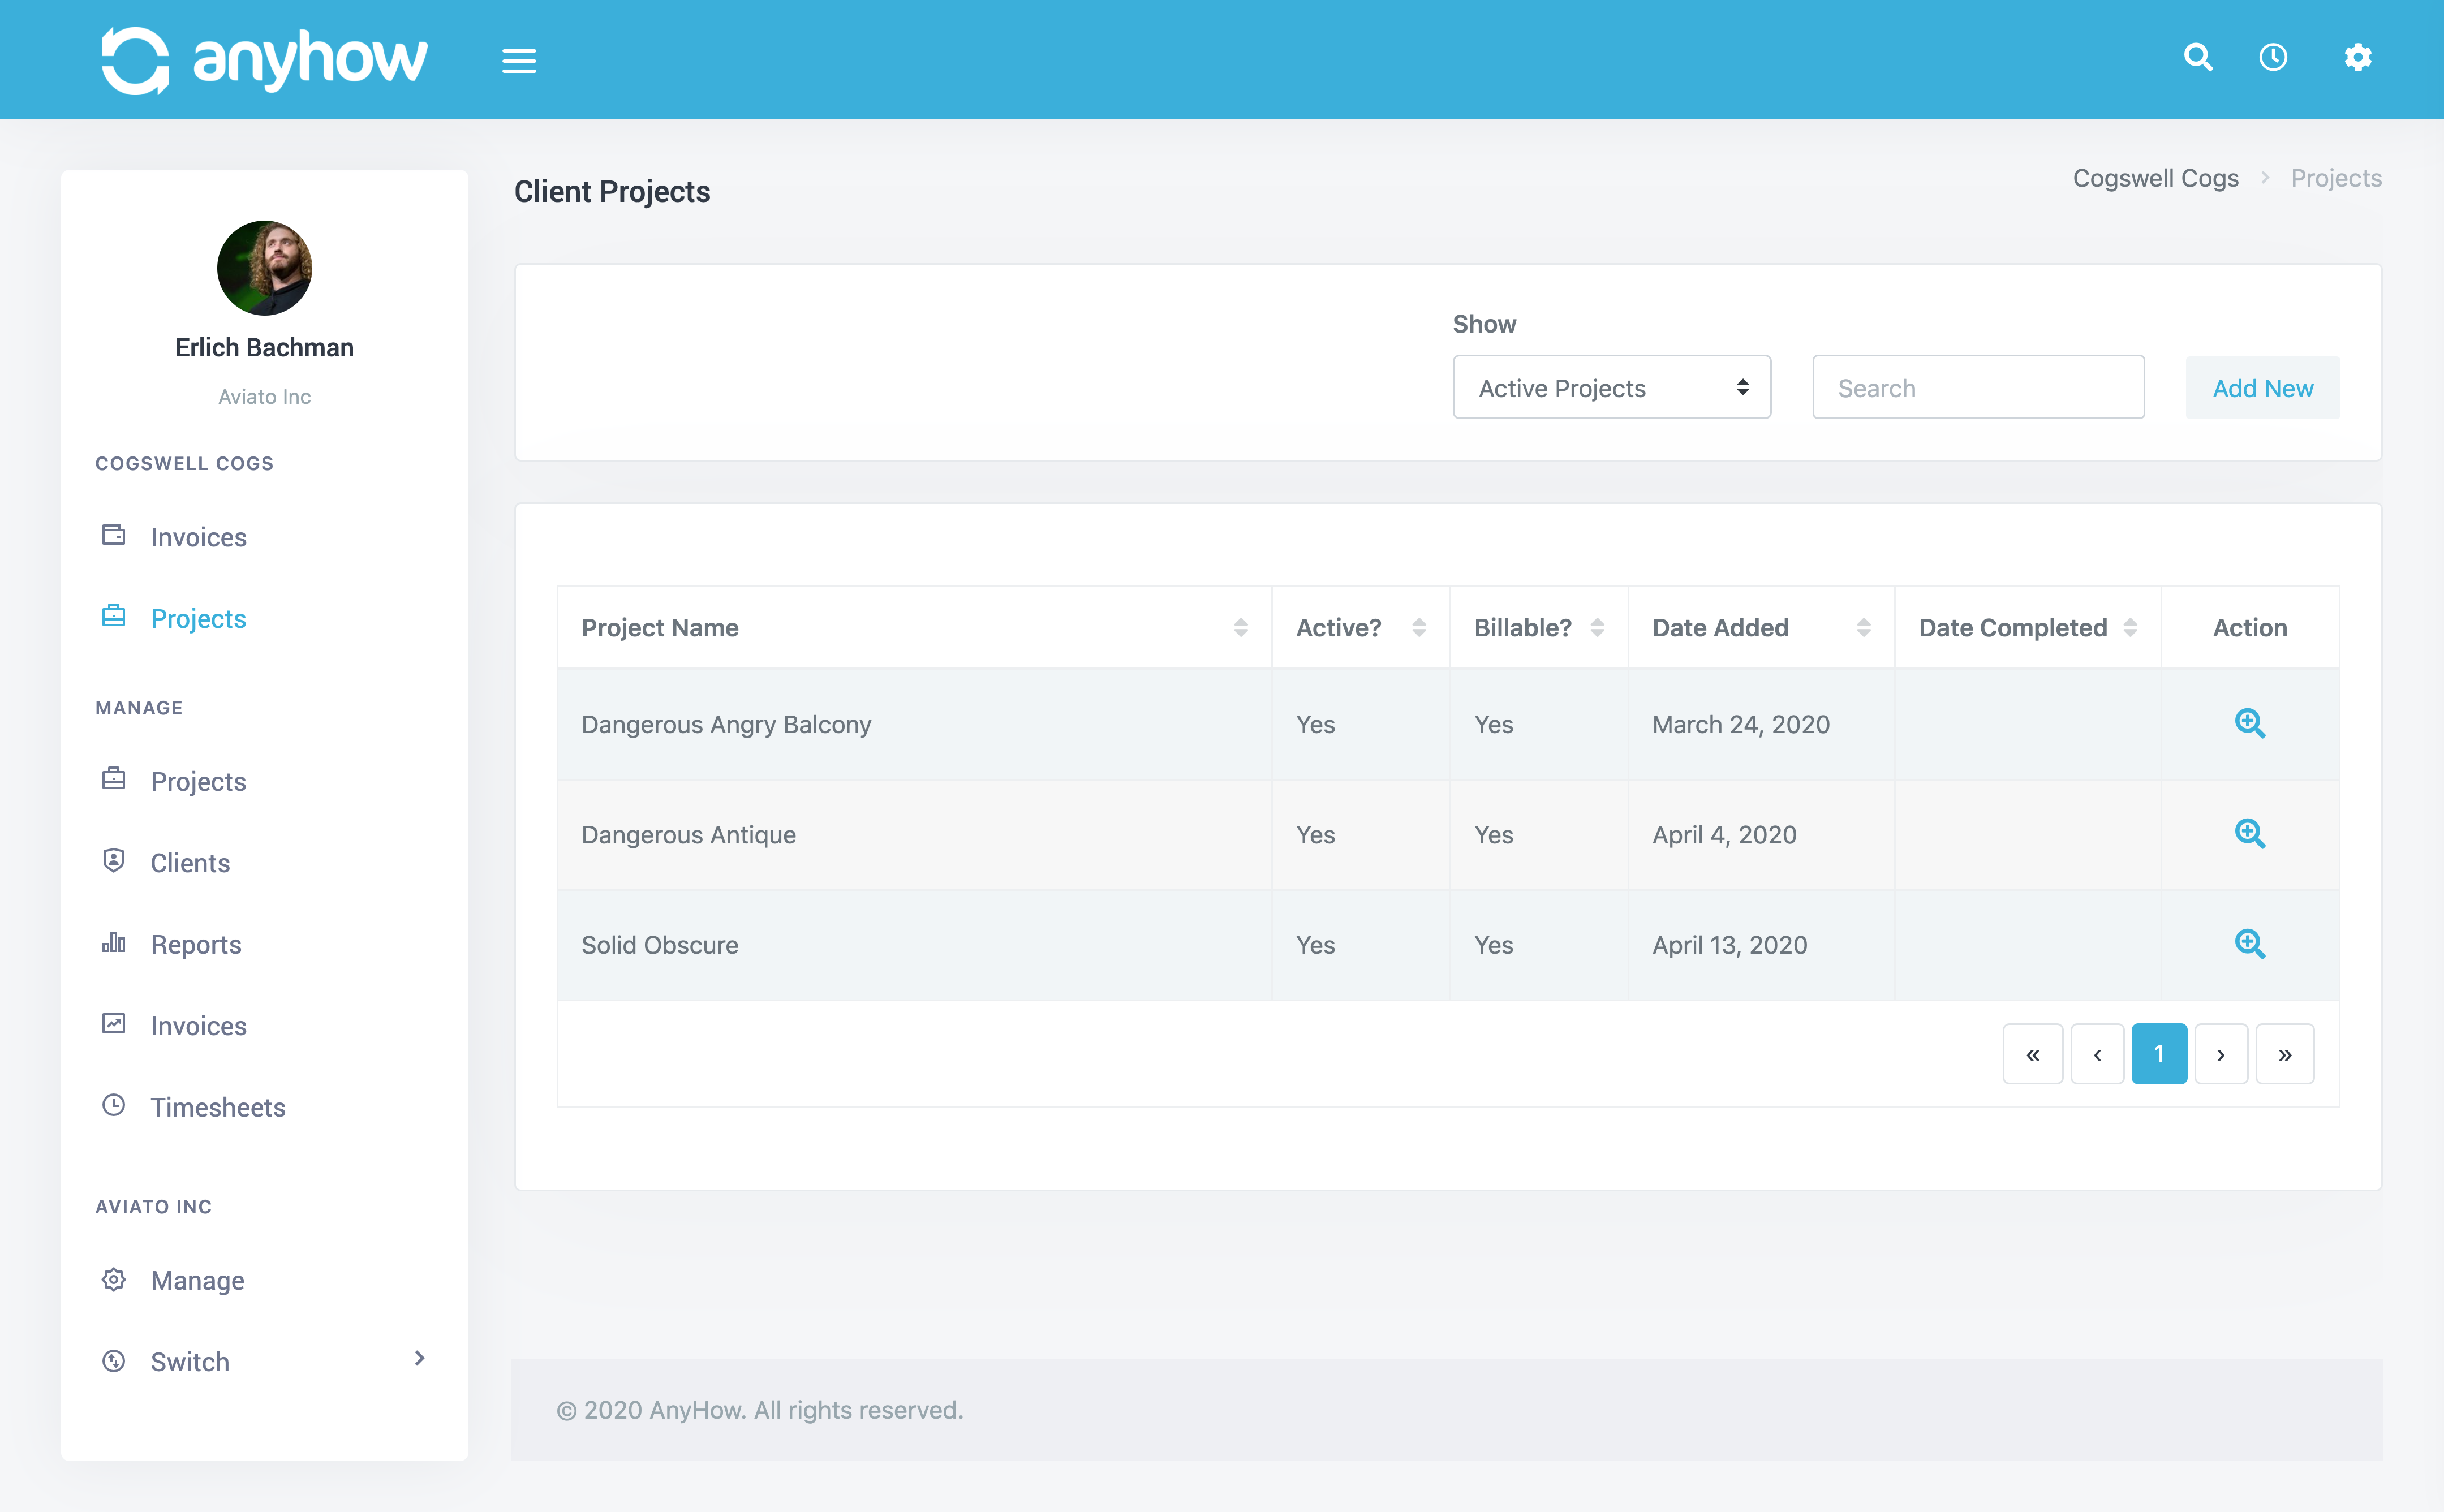
Adding A Client Project
To add a new project simply click the Add New button on the top right of the projects section. This will take you to a four step project detail form that must be completed and saved.
Step 1 - Project Info
Here you will fill in the following project information:
- Name
- Description
- Budget Amount
- Project Code - i.e., if the client has a code for this particular project.
- Active Status
- Billable Status
- Default Invoice Term
- Default Invoice Submission Email Addresses
- Invoice Submission Email Subject
- Invoice Submission Email Body
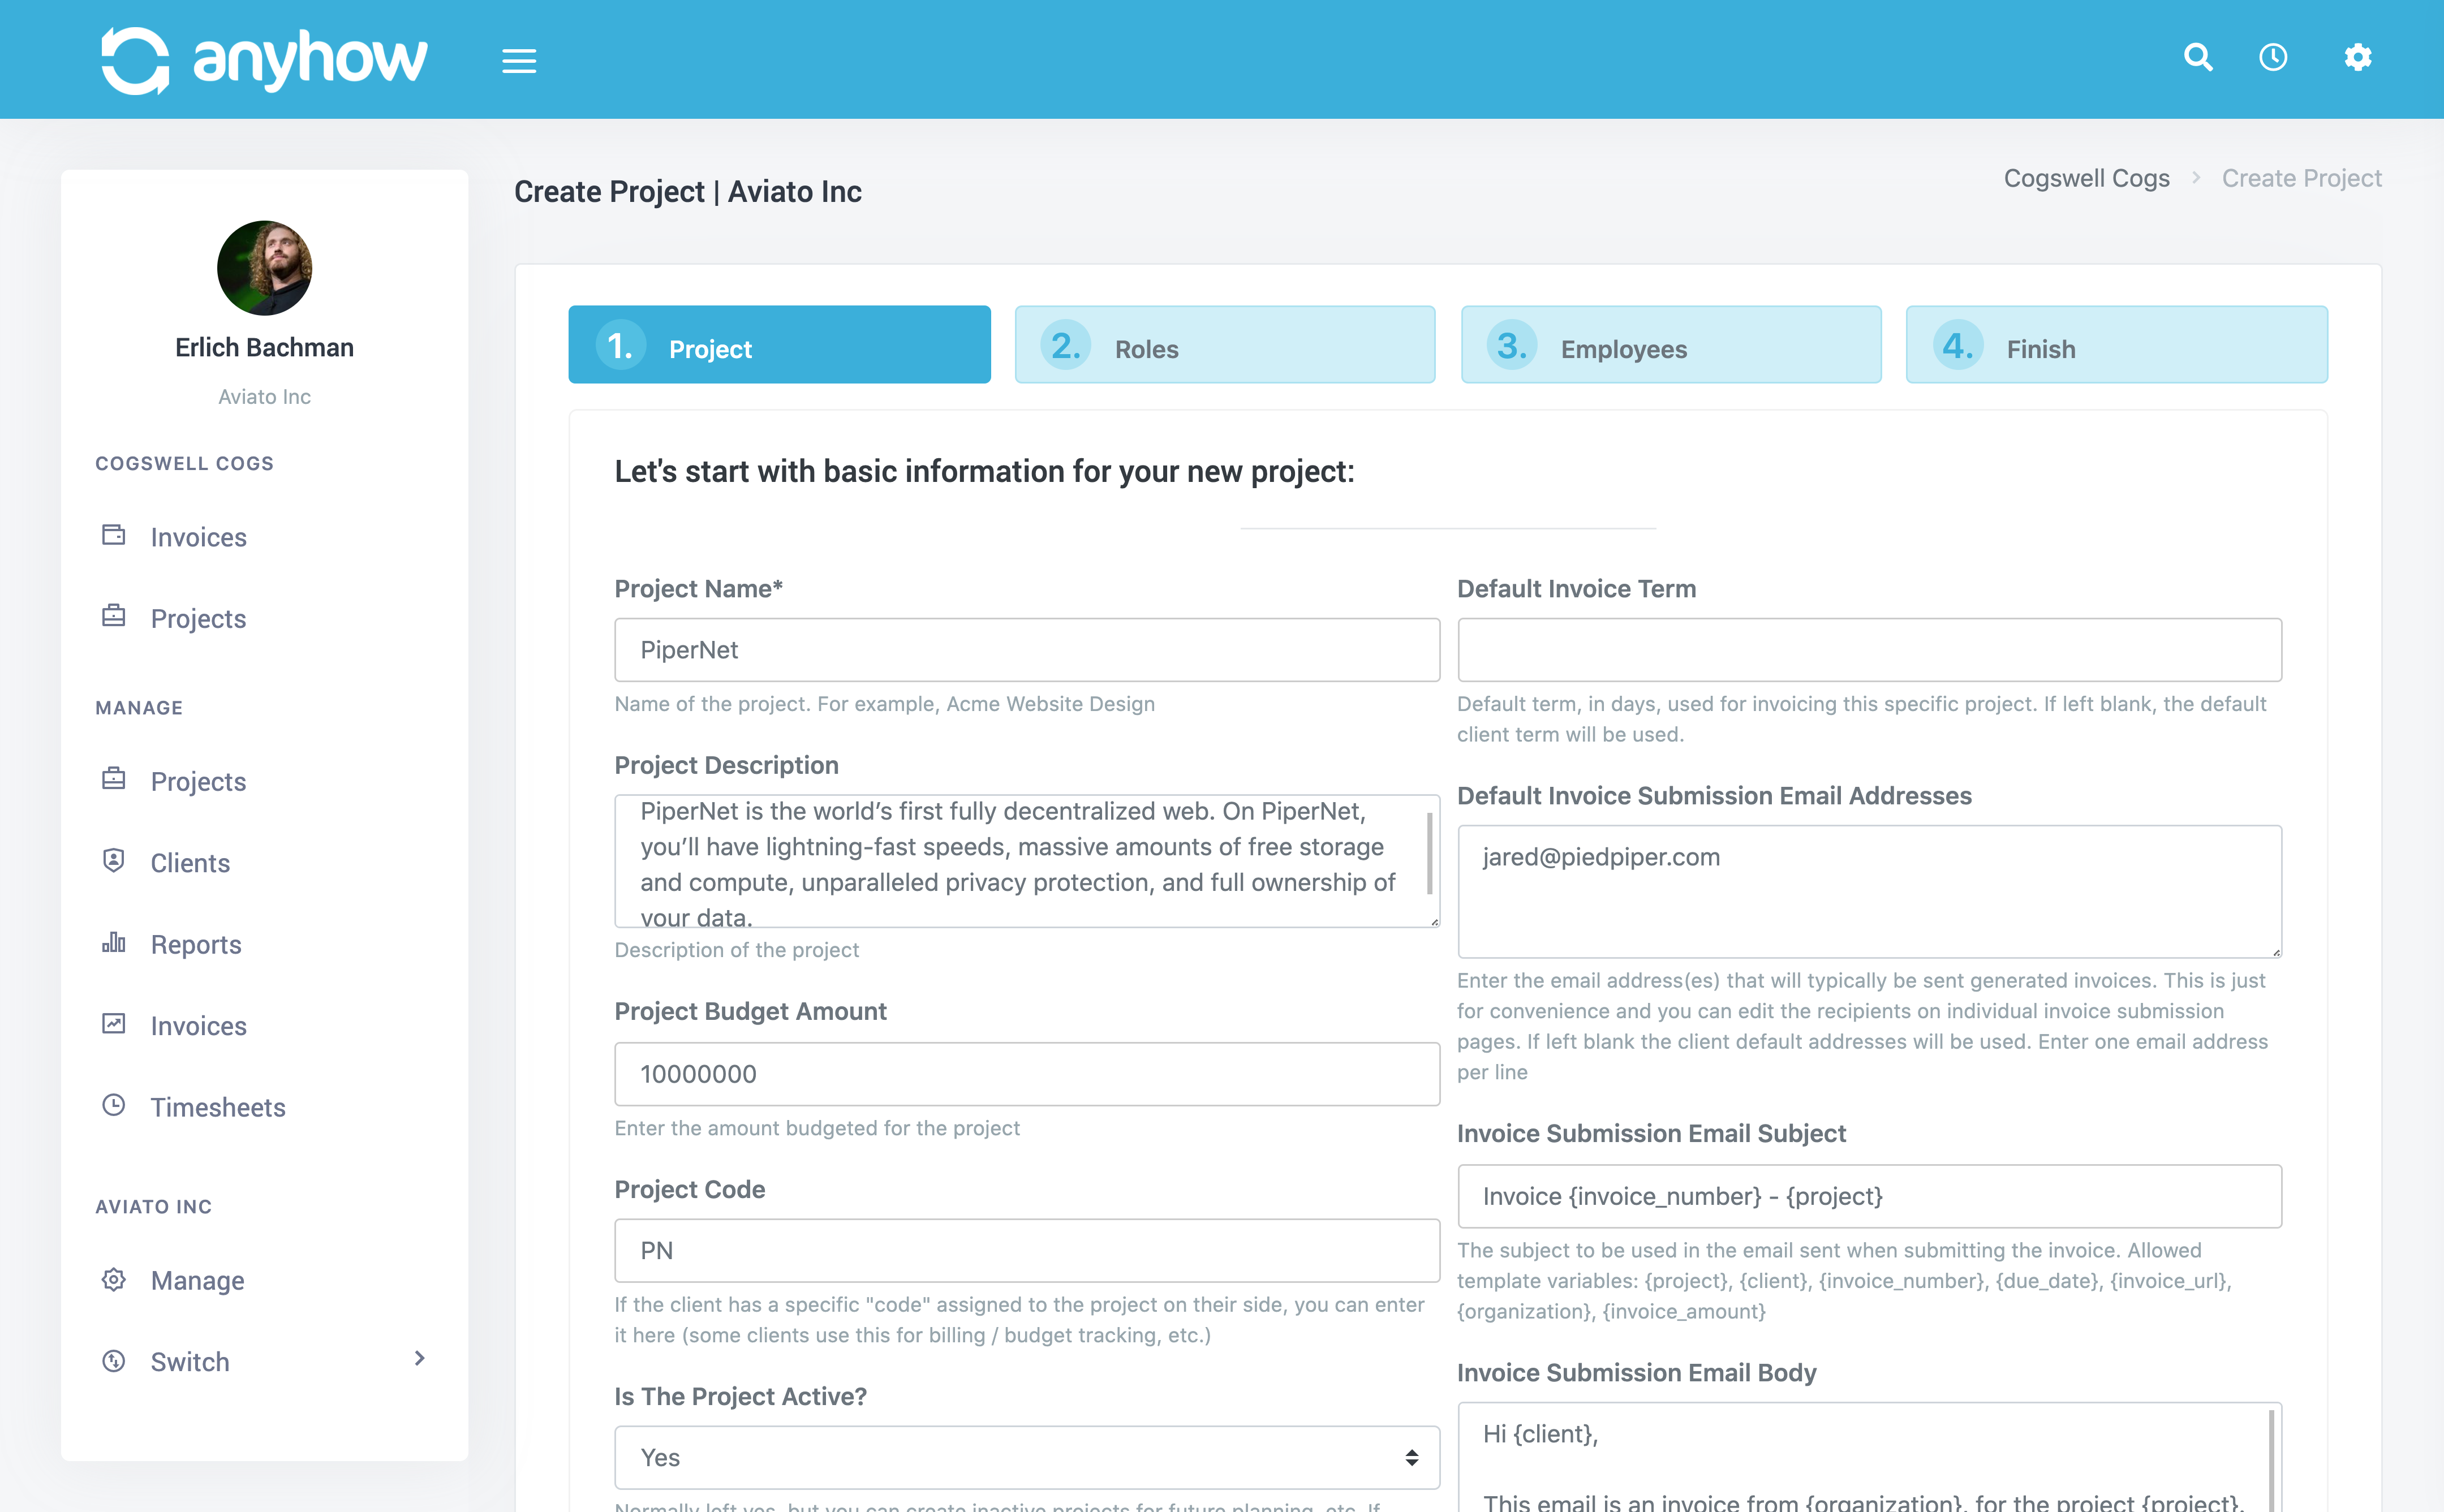
The submission email subject and body are both templates you can customize. AnyHow will provide you with a default template but you are free to edit it as you'd like.
Once complete, click the Next button.
Step 2 - Project Roles
When creating your organization you specified roles that your organization offers to your clients. Here is where you will choose which roles are available for the new project and their financial details, etc.
- Active Status
- Billable Status
- Role
- Role Hourly Rate
- Role Budgeted Hours
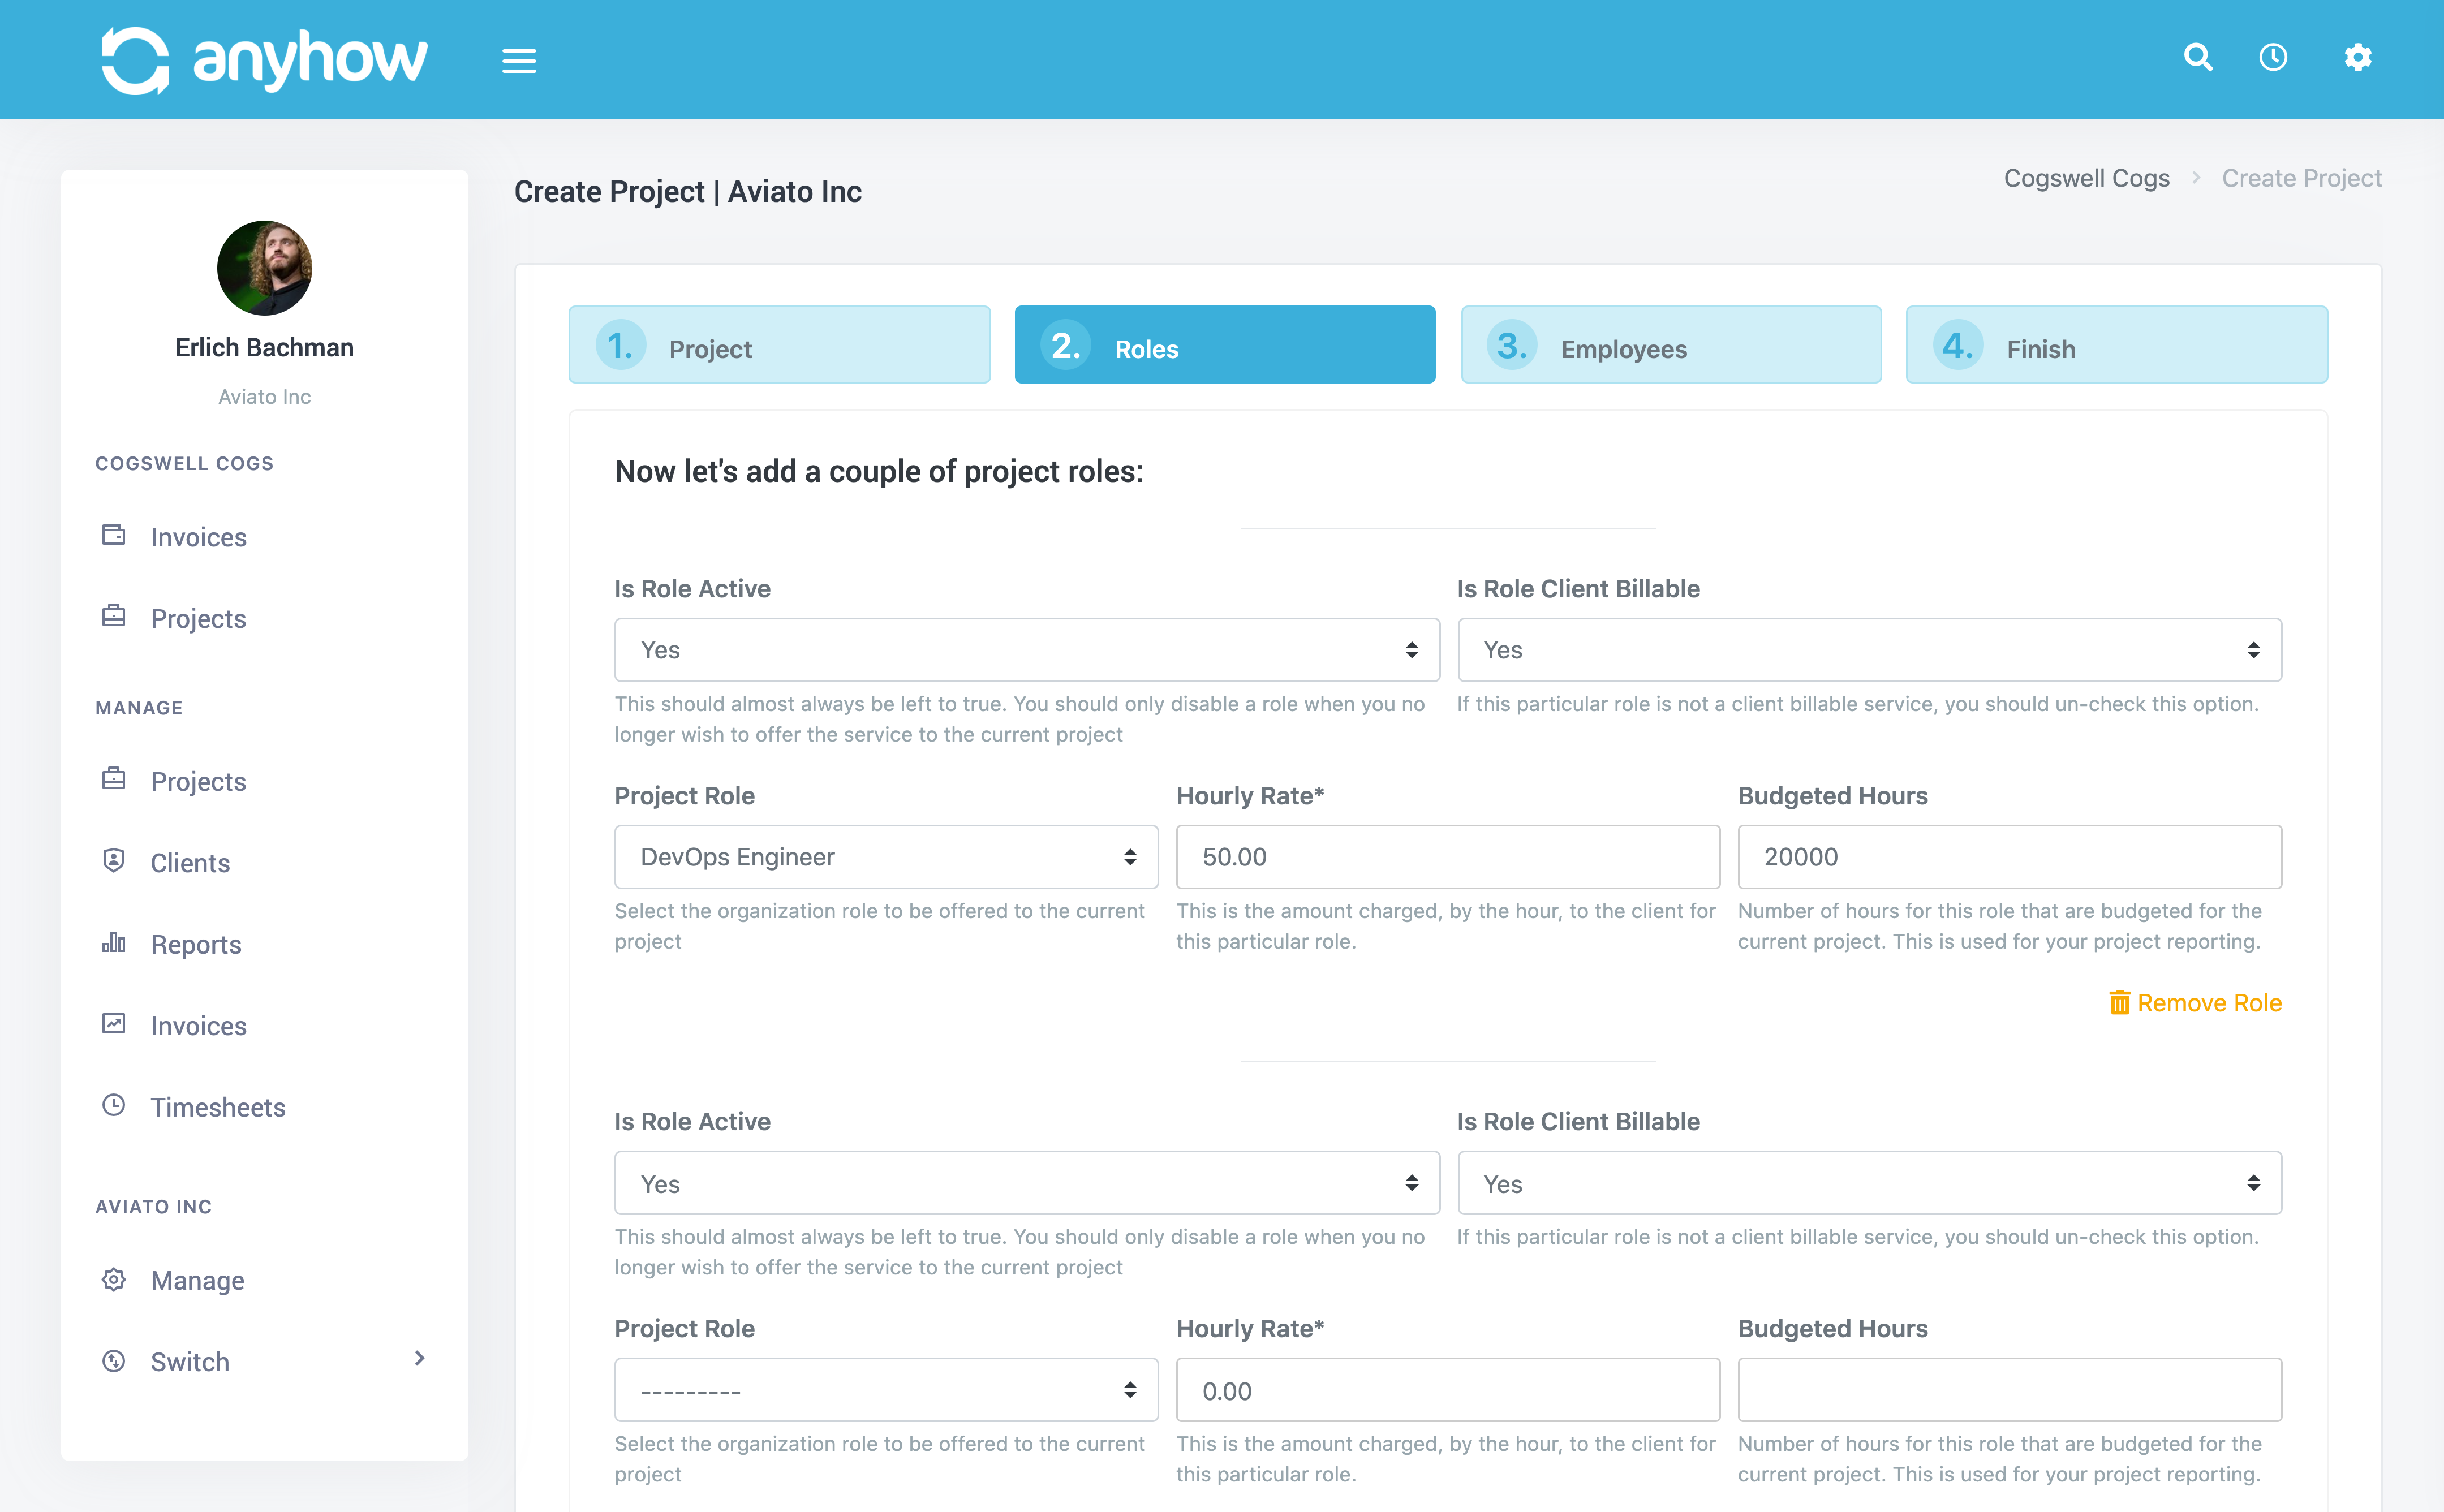
You can add as many roles as you'd like at this stage for the project. Simply click Add Role if you need to add more
Once complete you click the Next button.
Step 3 - Project Employees
Here you will select what organization employees will be assigned to the project.
- Email - Enter the email address of the employee. If the email is already registered to an employee, you will be able to select them. If the email address is not registered as an employee, there will be an email sent as an invite to join your organization as an employee.
- Role - What role will the employee offer to your client. If you want the employee to be able to provide multiple roles, you can add more after the project is created.
- Active Status
- Billable Status
- Hourly Cost
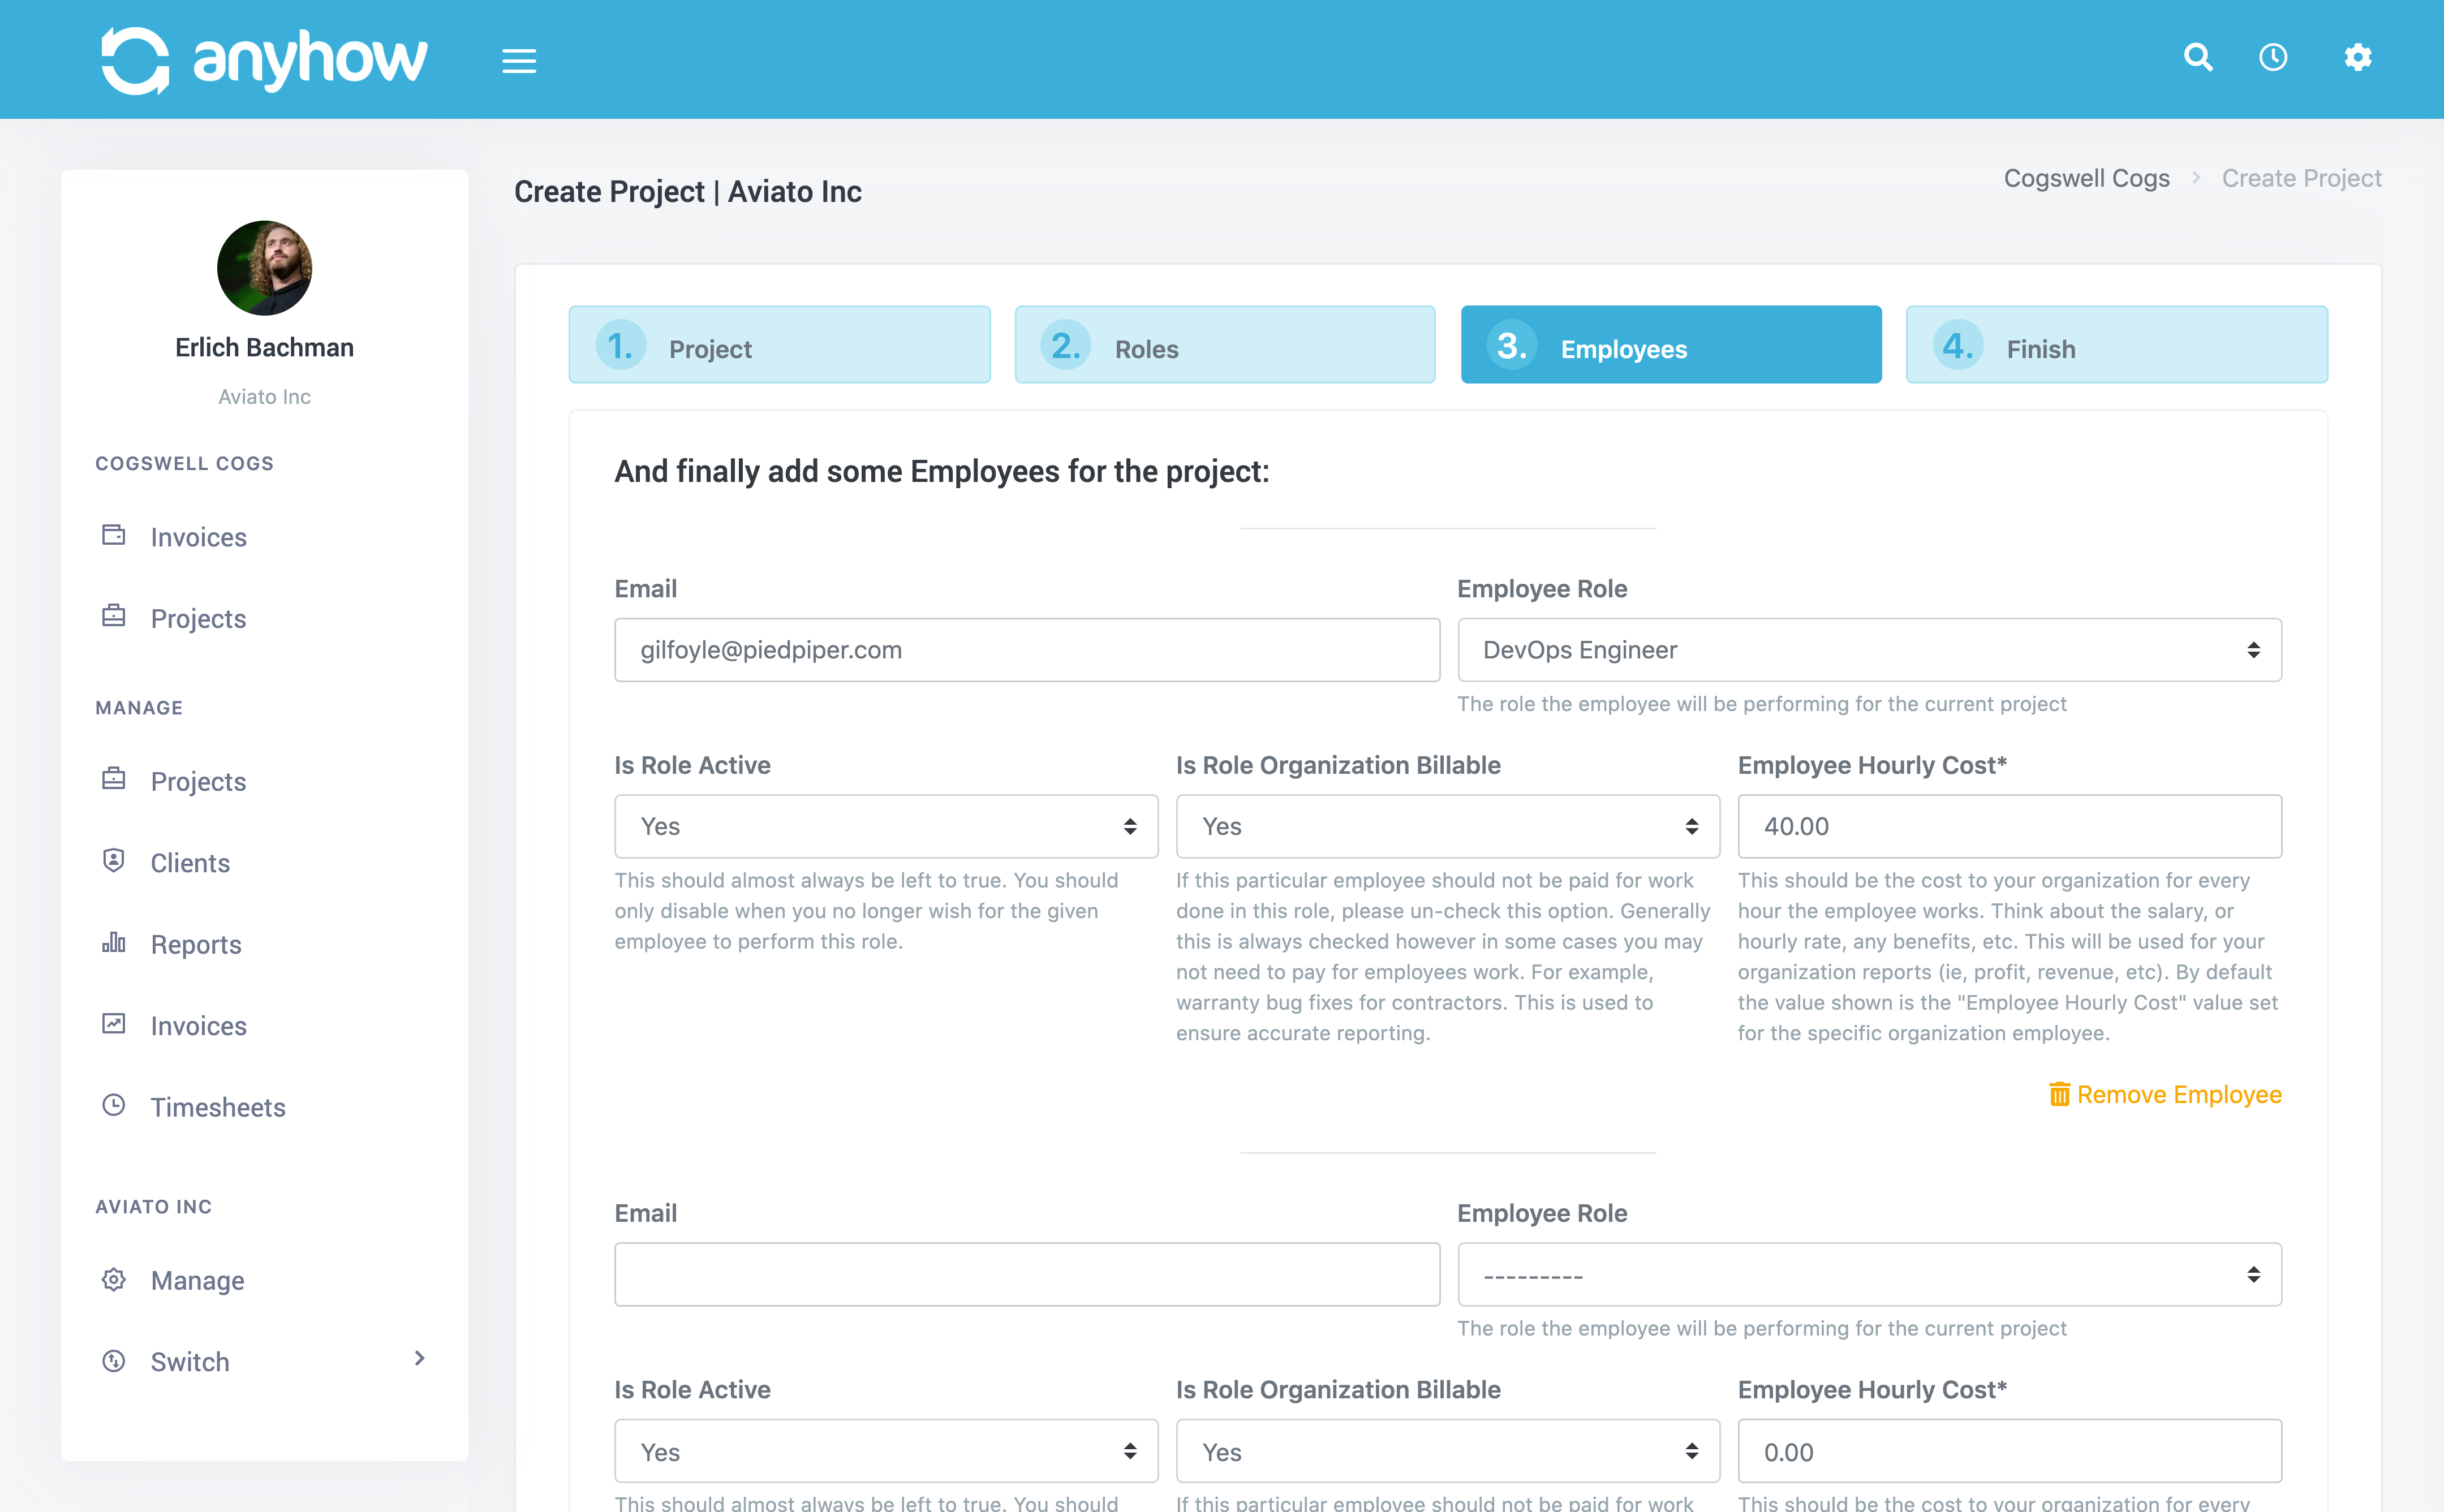
You can add as many employees as you'd like at this stage for the project. Simply click Add Employee if you need to add more.
Once complete you click the Next button.
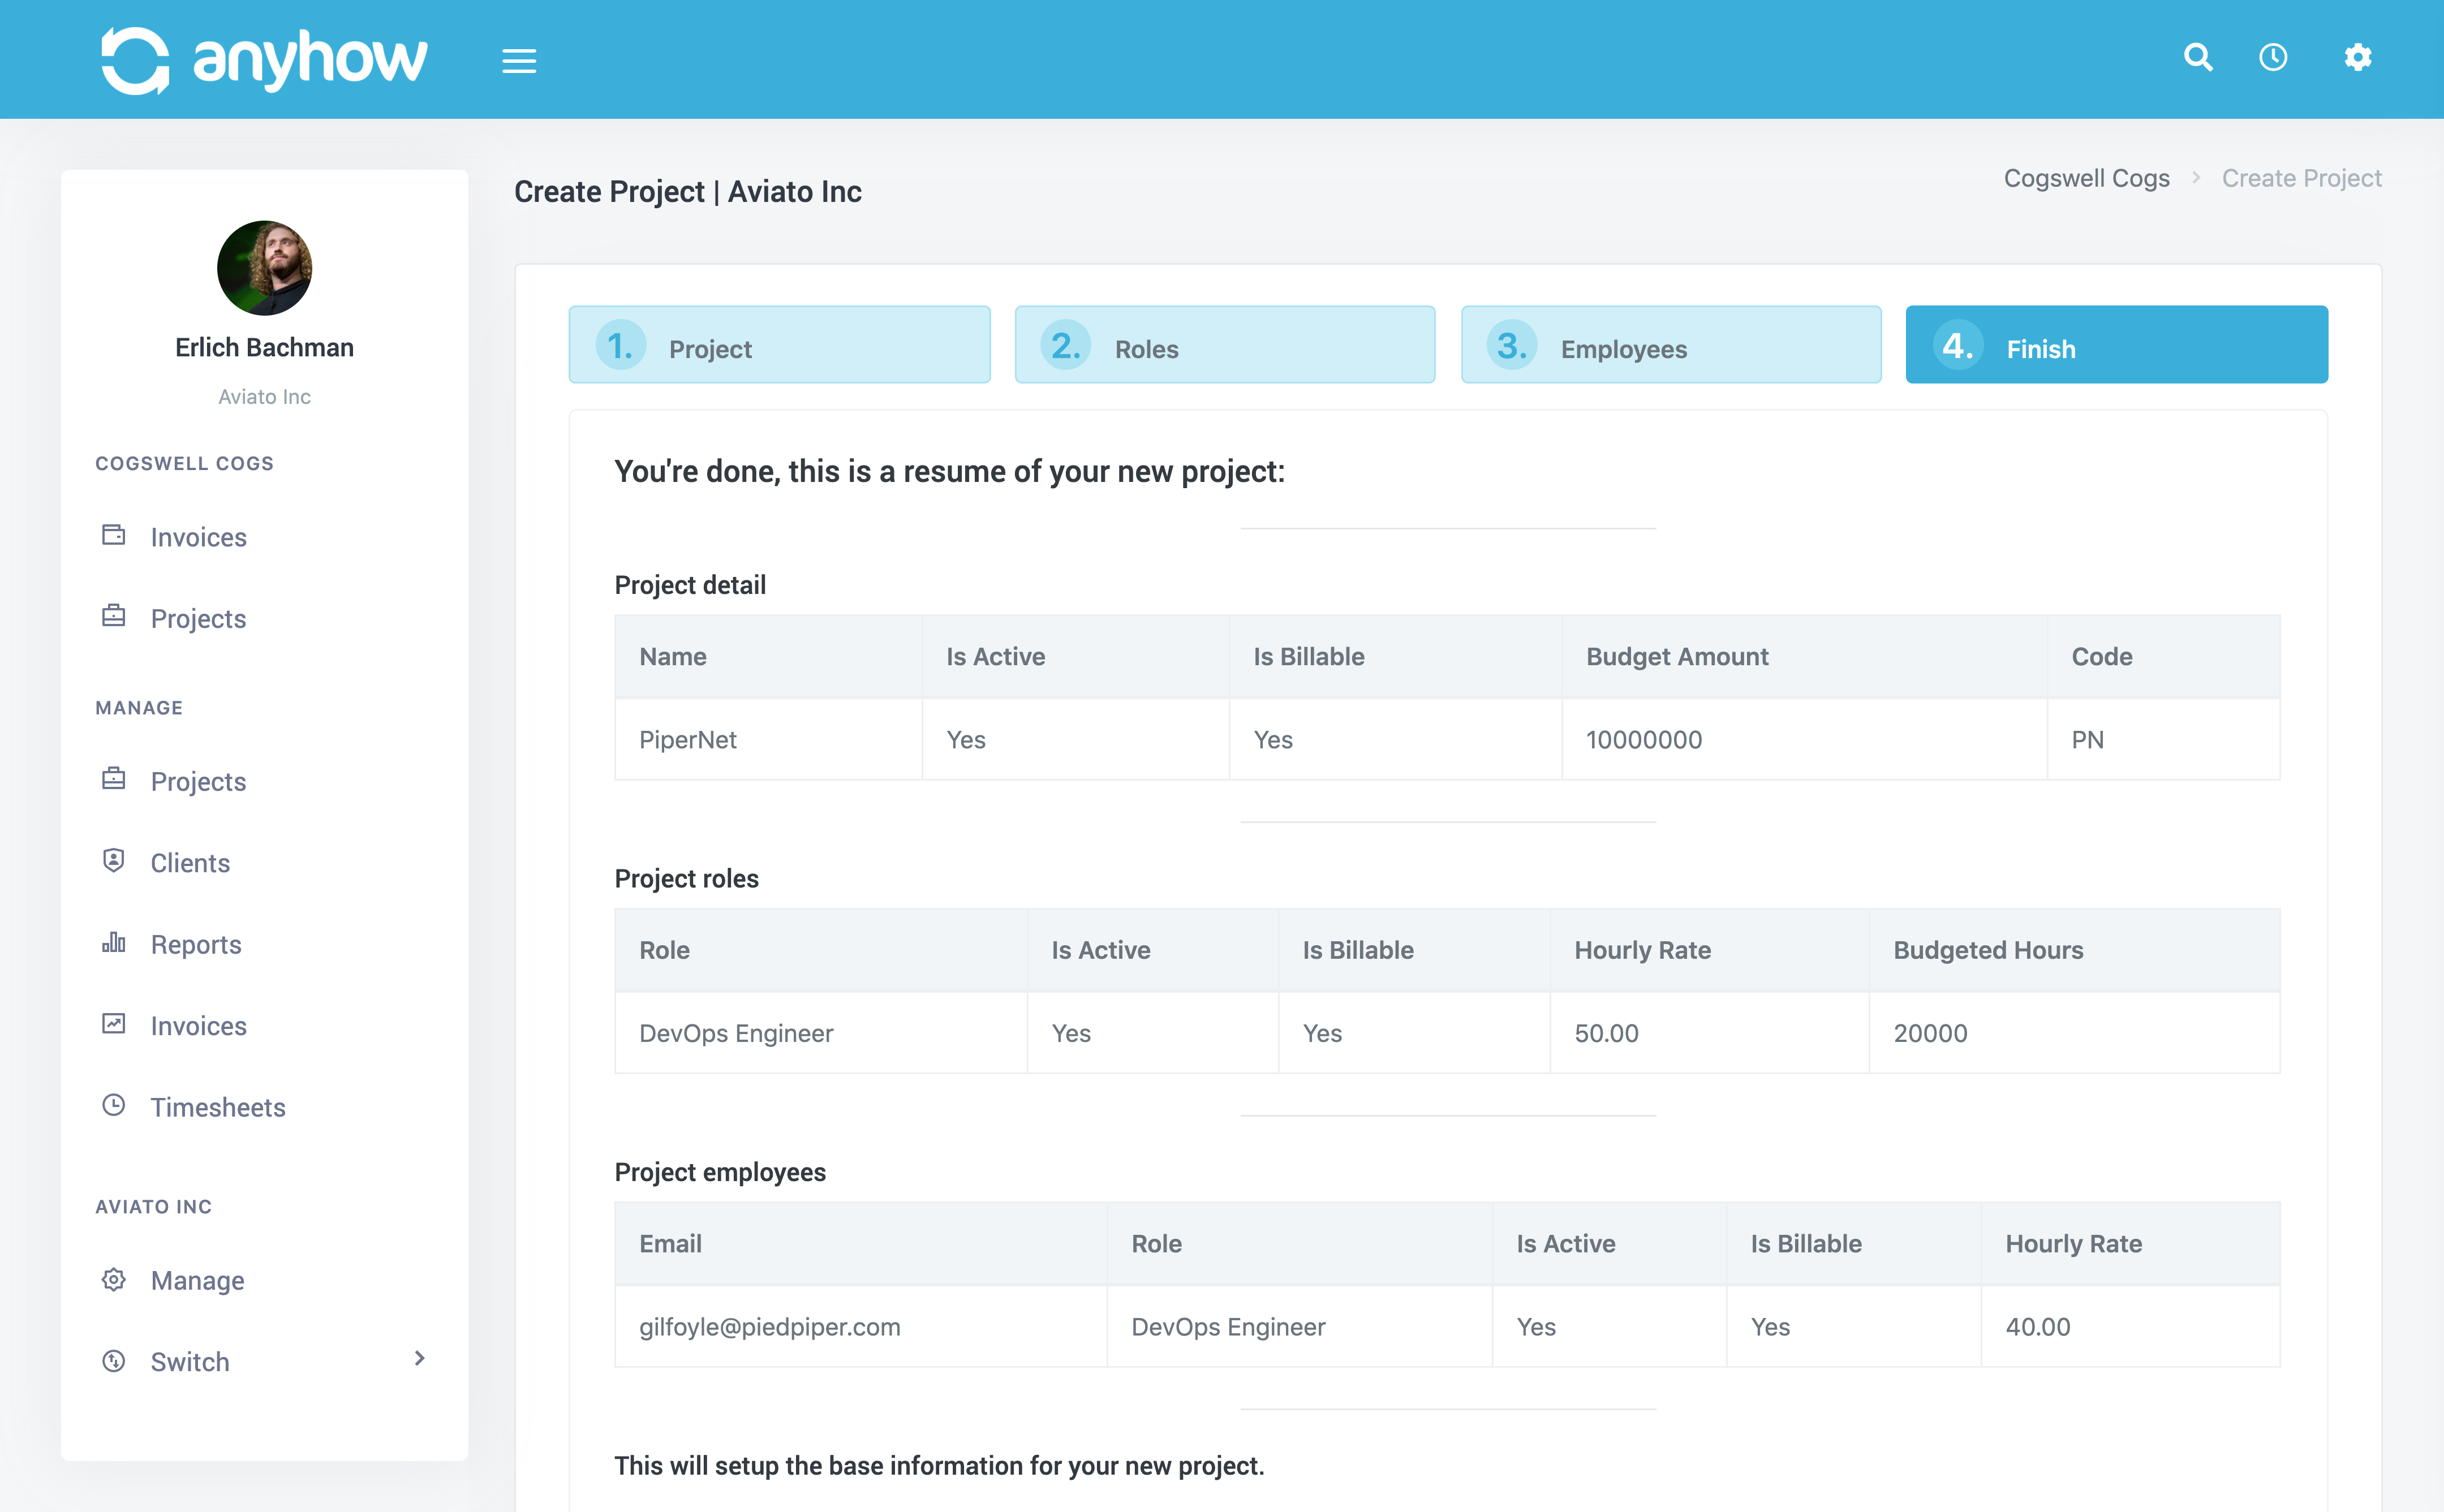
Step 4 - Project Review
At this stage you need to review the project details. If anything needs changing you can click Previous, make your corrections, and come back to the last step. Once everything is ready, just click Finish.
You now will be directed to the new project's detail page. Here you can view all project data, reports, employees, timesheets, invoices, etc.