Logging Time In AnyHow
Logging time in AnyHow can be done in a few different ways. The most common, and default, is via timesheets. You can also use time logs or the timer functionality. This will describe all three options.
Each option offers it's own pro's and con's. By default timesheets will be enabled. To change the input method to time log entries the organization manager will need to change that option in the organization settings.
The timer also has to be enabled in the organization to be used. By default it is enabled.
Time Format
When entering time manually you have the choice of how you want to enter the time. You also can use a couple different formats. This is a personal preference and you can use either format whenever you'd like.
By format we're referring to how time is represented and entered. So any place that is asking for a time period you can enter that period in the following formats:
- Casual - For example, for 1 hour, 30 minutes, using the casual format would be:
1h 30m. For say, 15 minutes, you'd enter:15m. - Strict - For example, for 1 hour, 30 minutes, using the strict format would be:
1.5. Meaning, 1.5 hours. For say, 15 minutes, you'd enter:0.25.
Timesheets
Timesheets are a very straight forward and organized way to view and represent the time spent on client projects during a given work week.
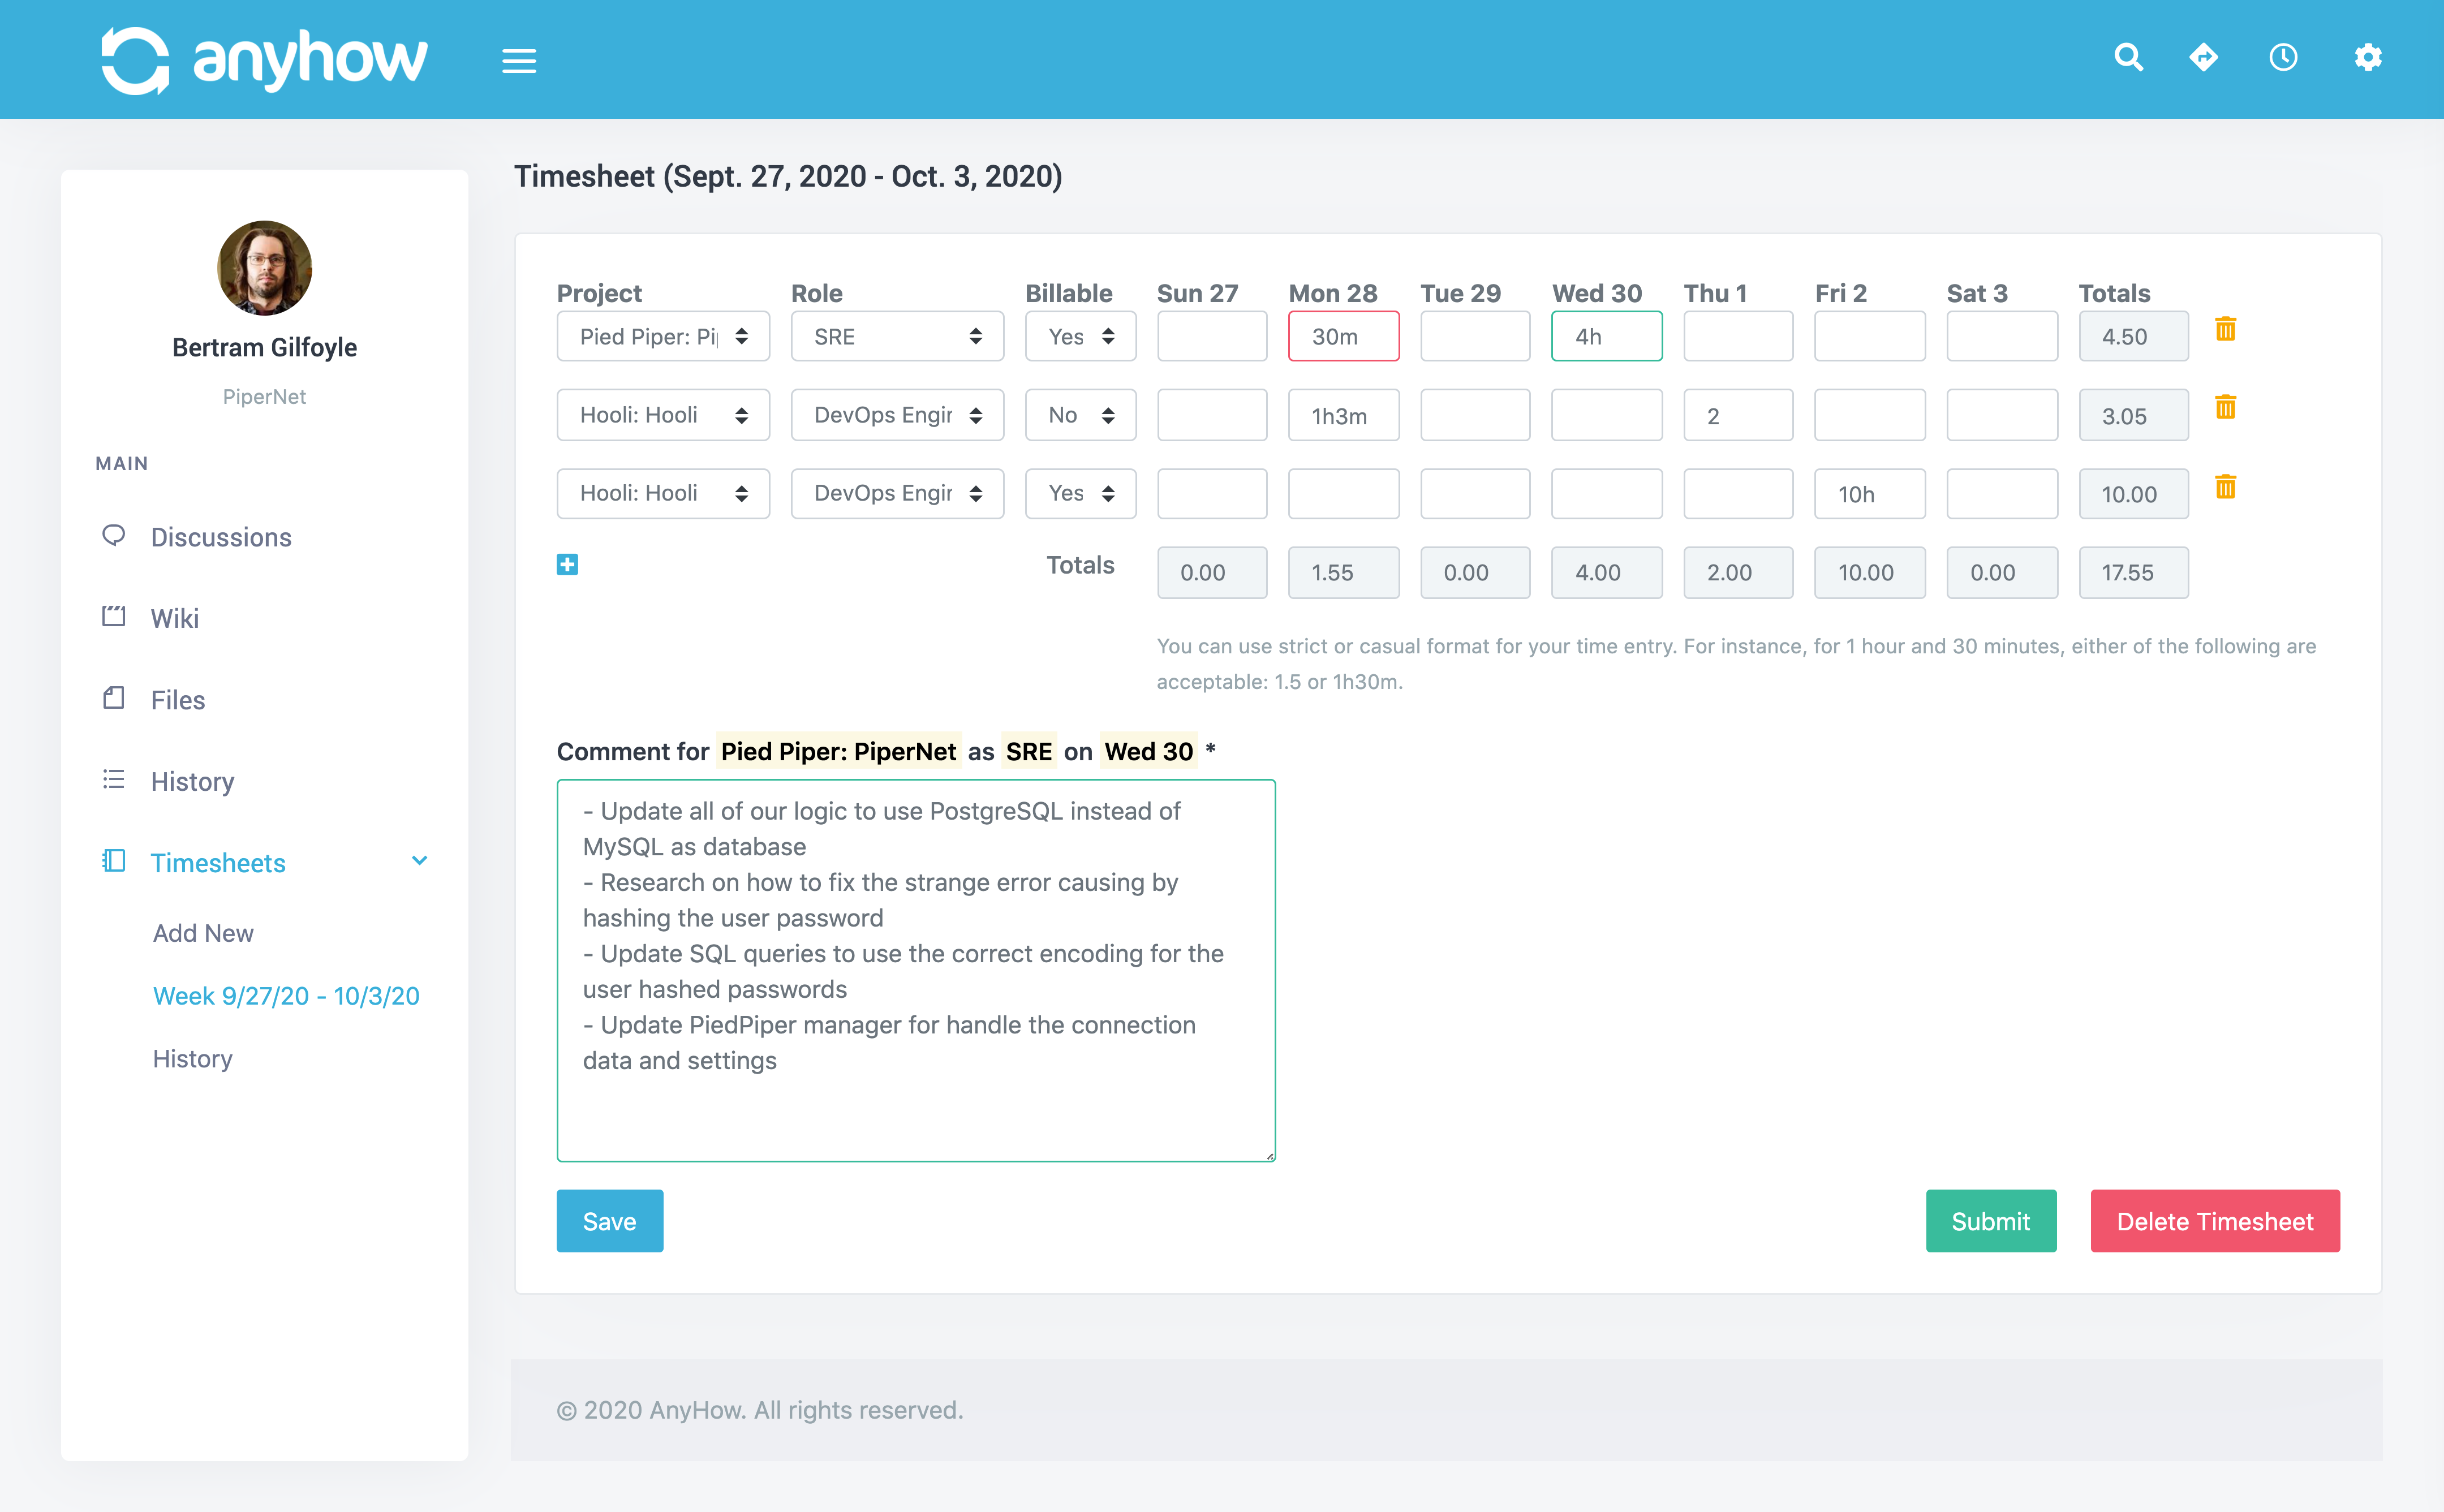
You can see the following fields on a timesheet (per row):
- Project
- Role
- Billable Status
- Full Week Days (Sunday through Saturday)
- Totals
Below the rows you will also notice the following:
- Week Totals - This will show the full total per week day
- Comment - This is used to describe the tasks completed on a given week day row.
Rows are combined based on the following, combined, being unique: Project, Role and Billable Status. Even when entering multiple rows with the same Project, Role, and Billable Status values, they will be combined into a single row upon save.
Adding Time To Your Timesheet
Steps to add a new row and time in your timesheet.
- Select Project
- Select Role for Project
- Select Billable Status (defaults to Yes)
- Click into the date field for the day in which you wish to add time.
- Enter the time spent (ie,
1h 30m) - Click into the comment box (it will show as the Project/Date selected) and enter notes for the time spent.
- Click on the next date to enter, enter time, click comment, enter comment.
- When you are finished, you must click the
Savebutton to save your entries.
You can add as many rows as you'd like. To add a new row simply click the + sign icon under the last row on the left side.
If you wish to remove a row, simply click the trash icon to the right of the given row.
If you add/remove rows be sure to click the Save button as not doing so will result in losing your data entered.
Submitting Your Timesheet
Once your work week is done and you have logged and saved all your work into your timesheet, it's time to submit it for approval. The process is very simple. Simply click the Submit button on the timesheet page. You will be asked to confirm and once confirmed the timesheet will show a submitted state.
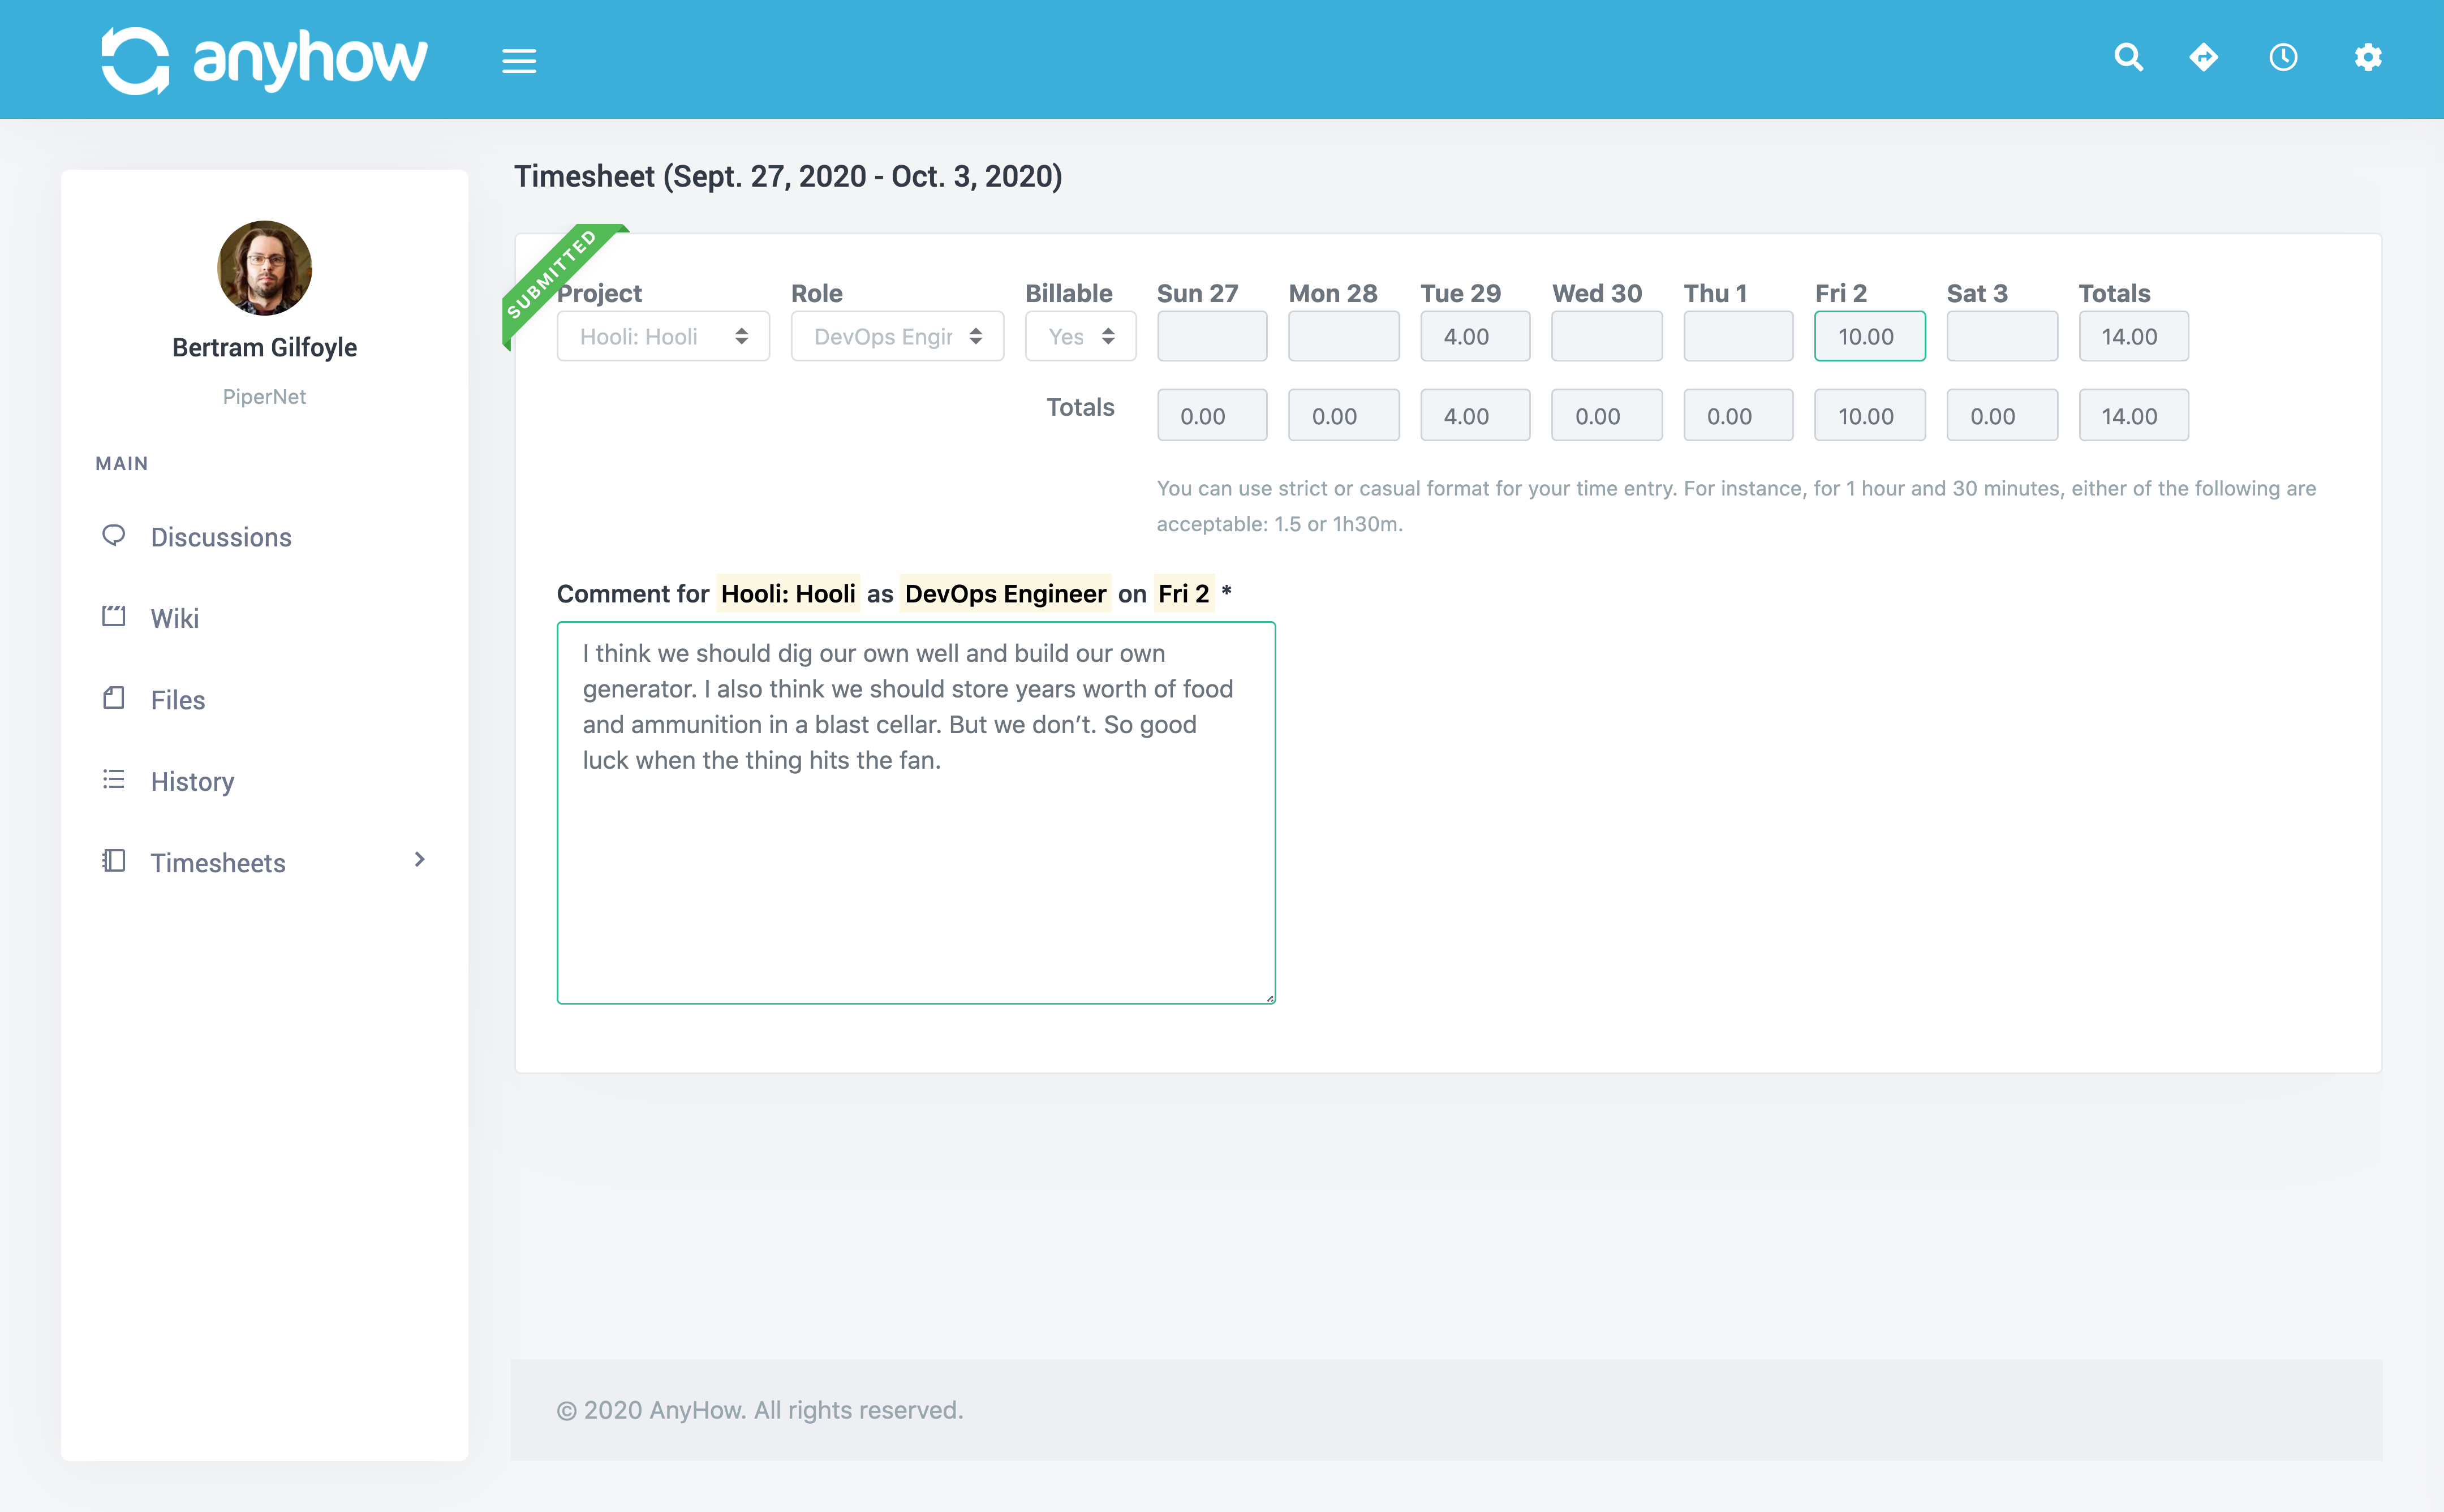
Now your project, or organization, manager will be notified of your submission and that they can go ahead and review and approve your timesheet.
Time Logs
If your organization is configured to use time logs instead of timesheets the process of entering time is just as easy.
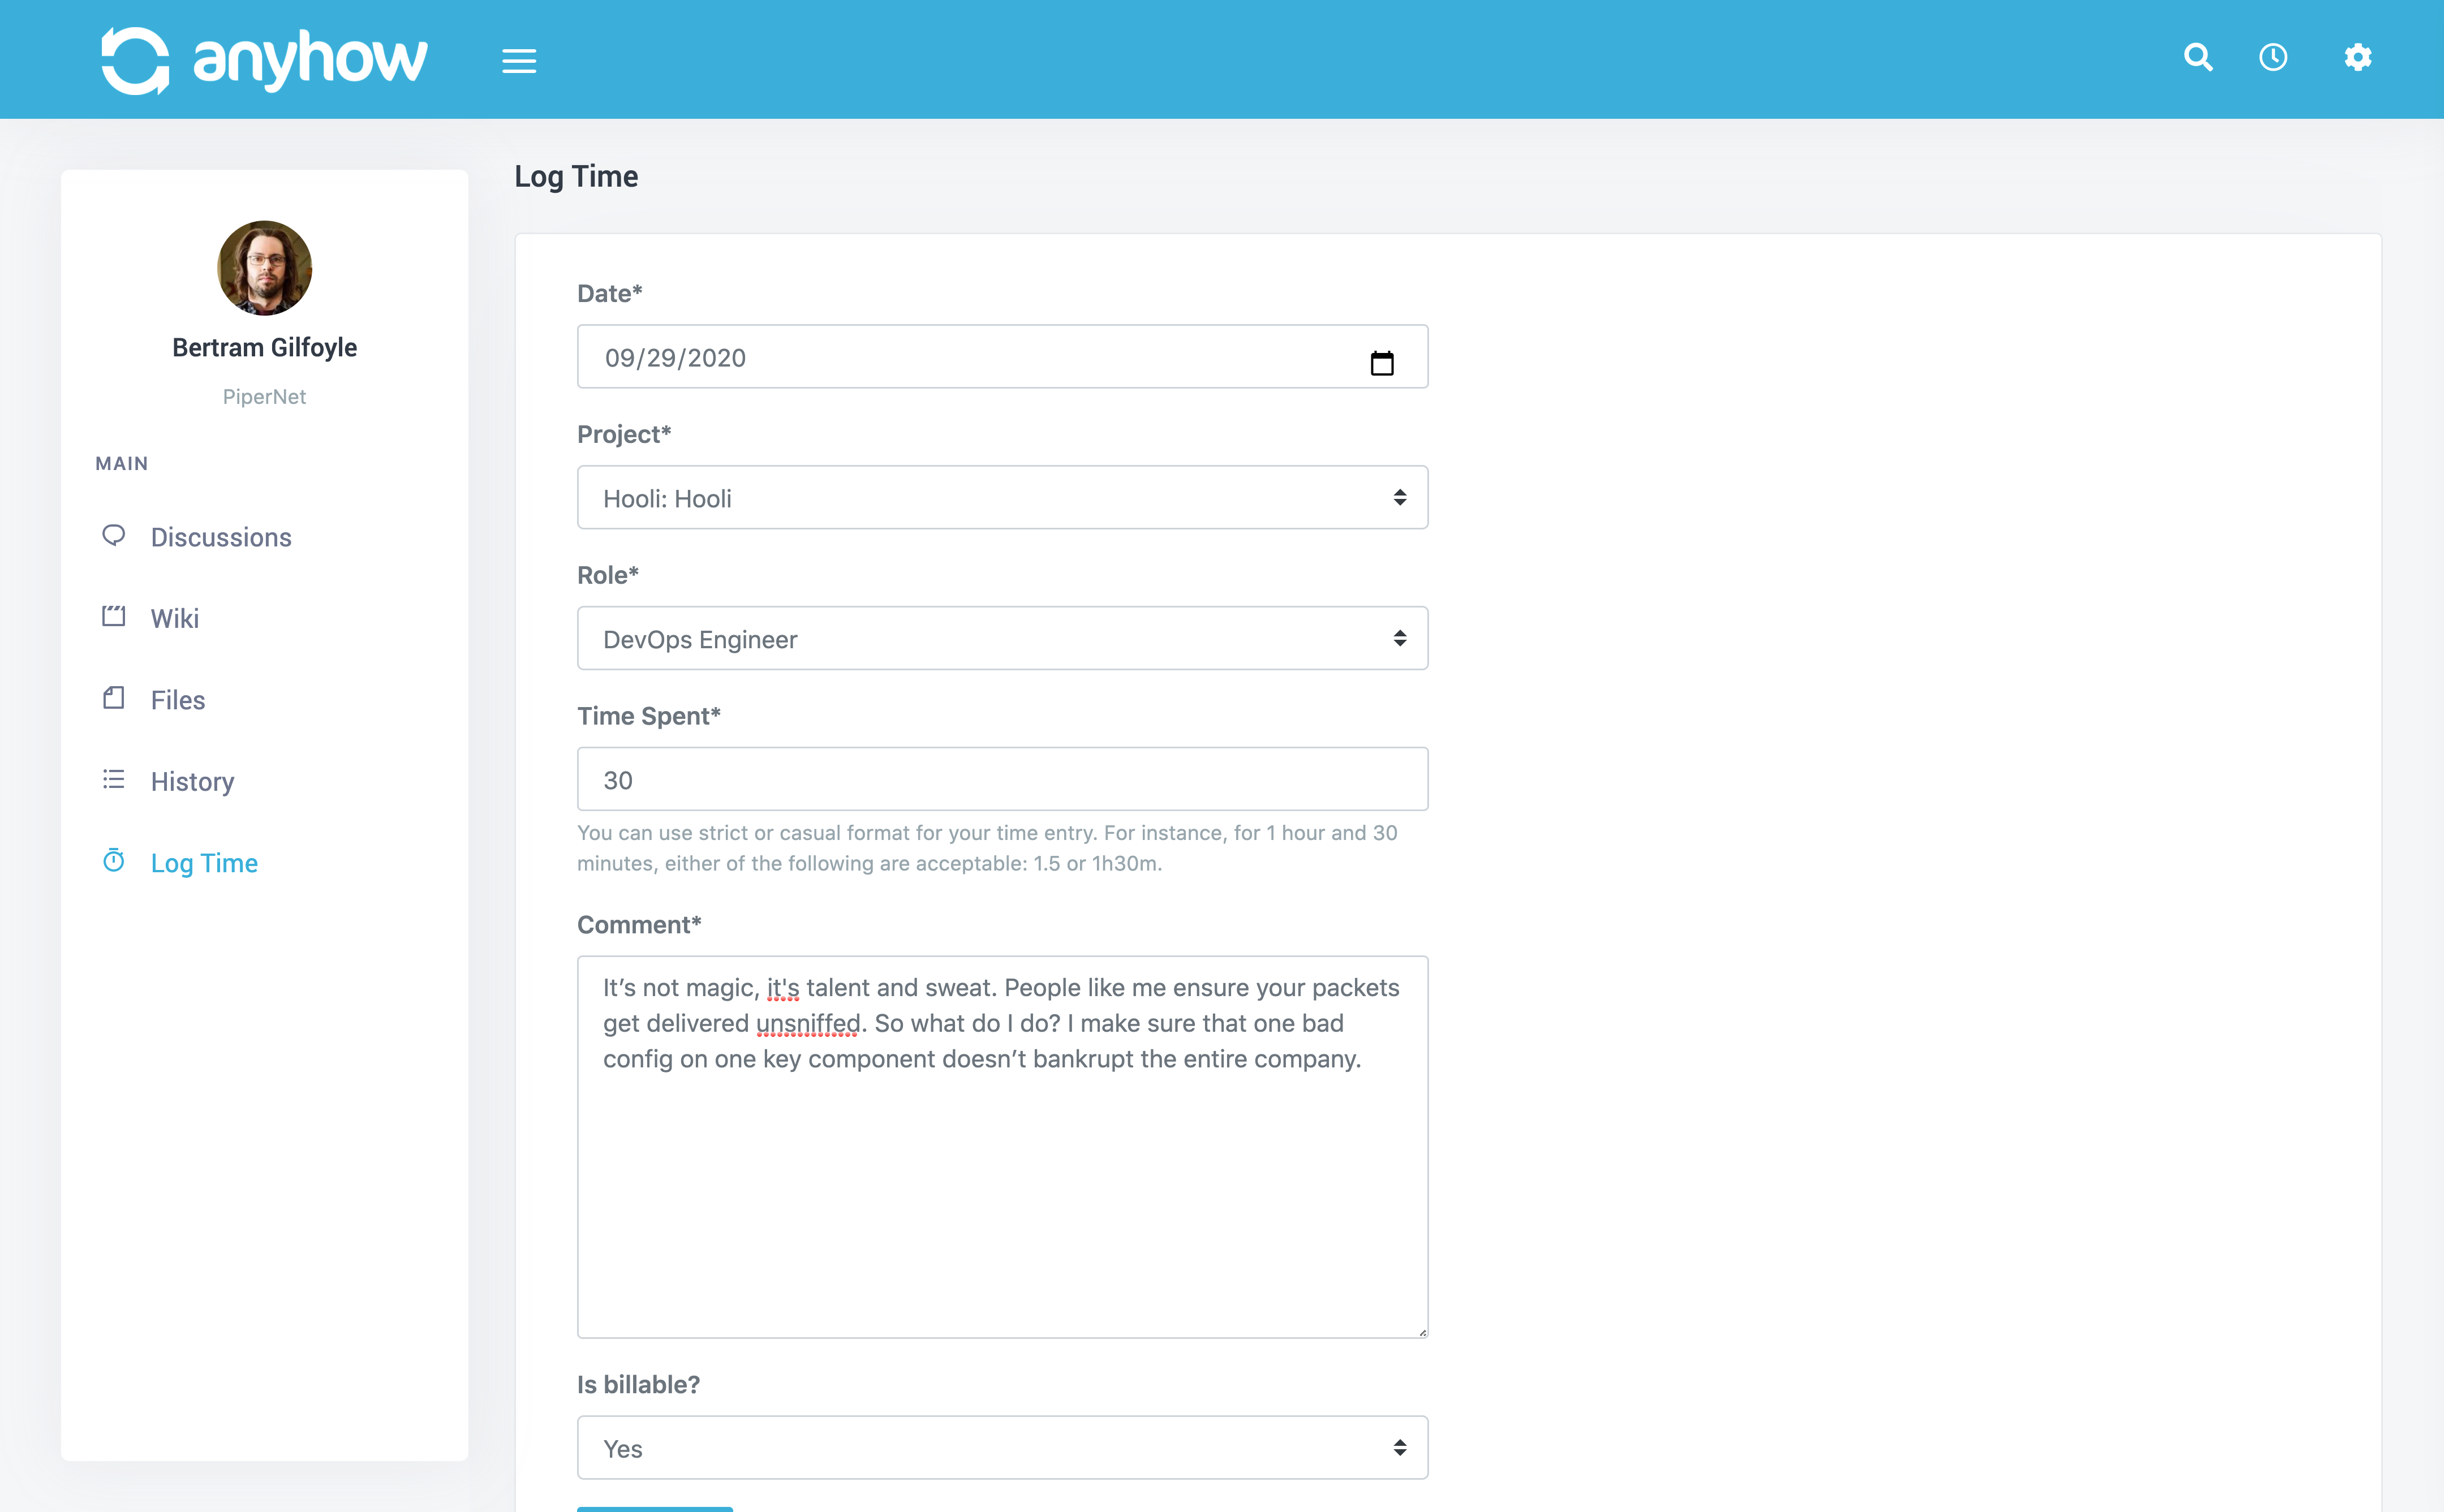
To log time for a task simply enter the following information:
- Date
- Project
- Project Role
- Time Spent - For example,
1h 30m - Comment - Description of the work done
- Billable Status - Defaults to "Yes"
- Click the
Log Timebutton.
That's it. You can view your time logs in your history area.
Task Timer
The task timer is enabled by default for organizations however in the organization settings area it can be disabled. We encourage you to keep it enabled as it's very useful for very accurate log entries.
Using the time is simple. Simply click the timer icon in the top right corner of AnyHow (you must be logged in):
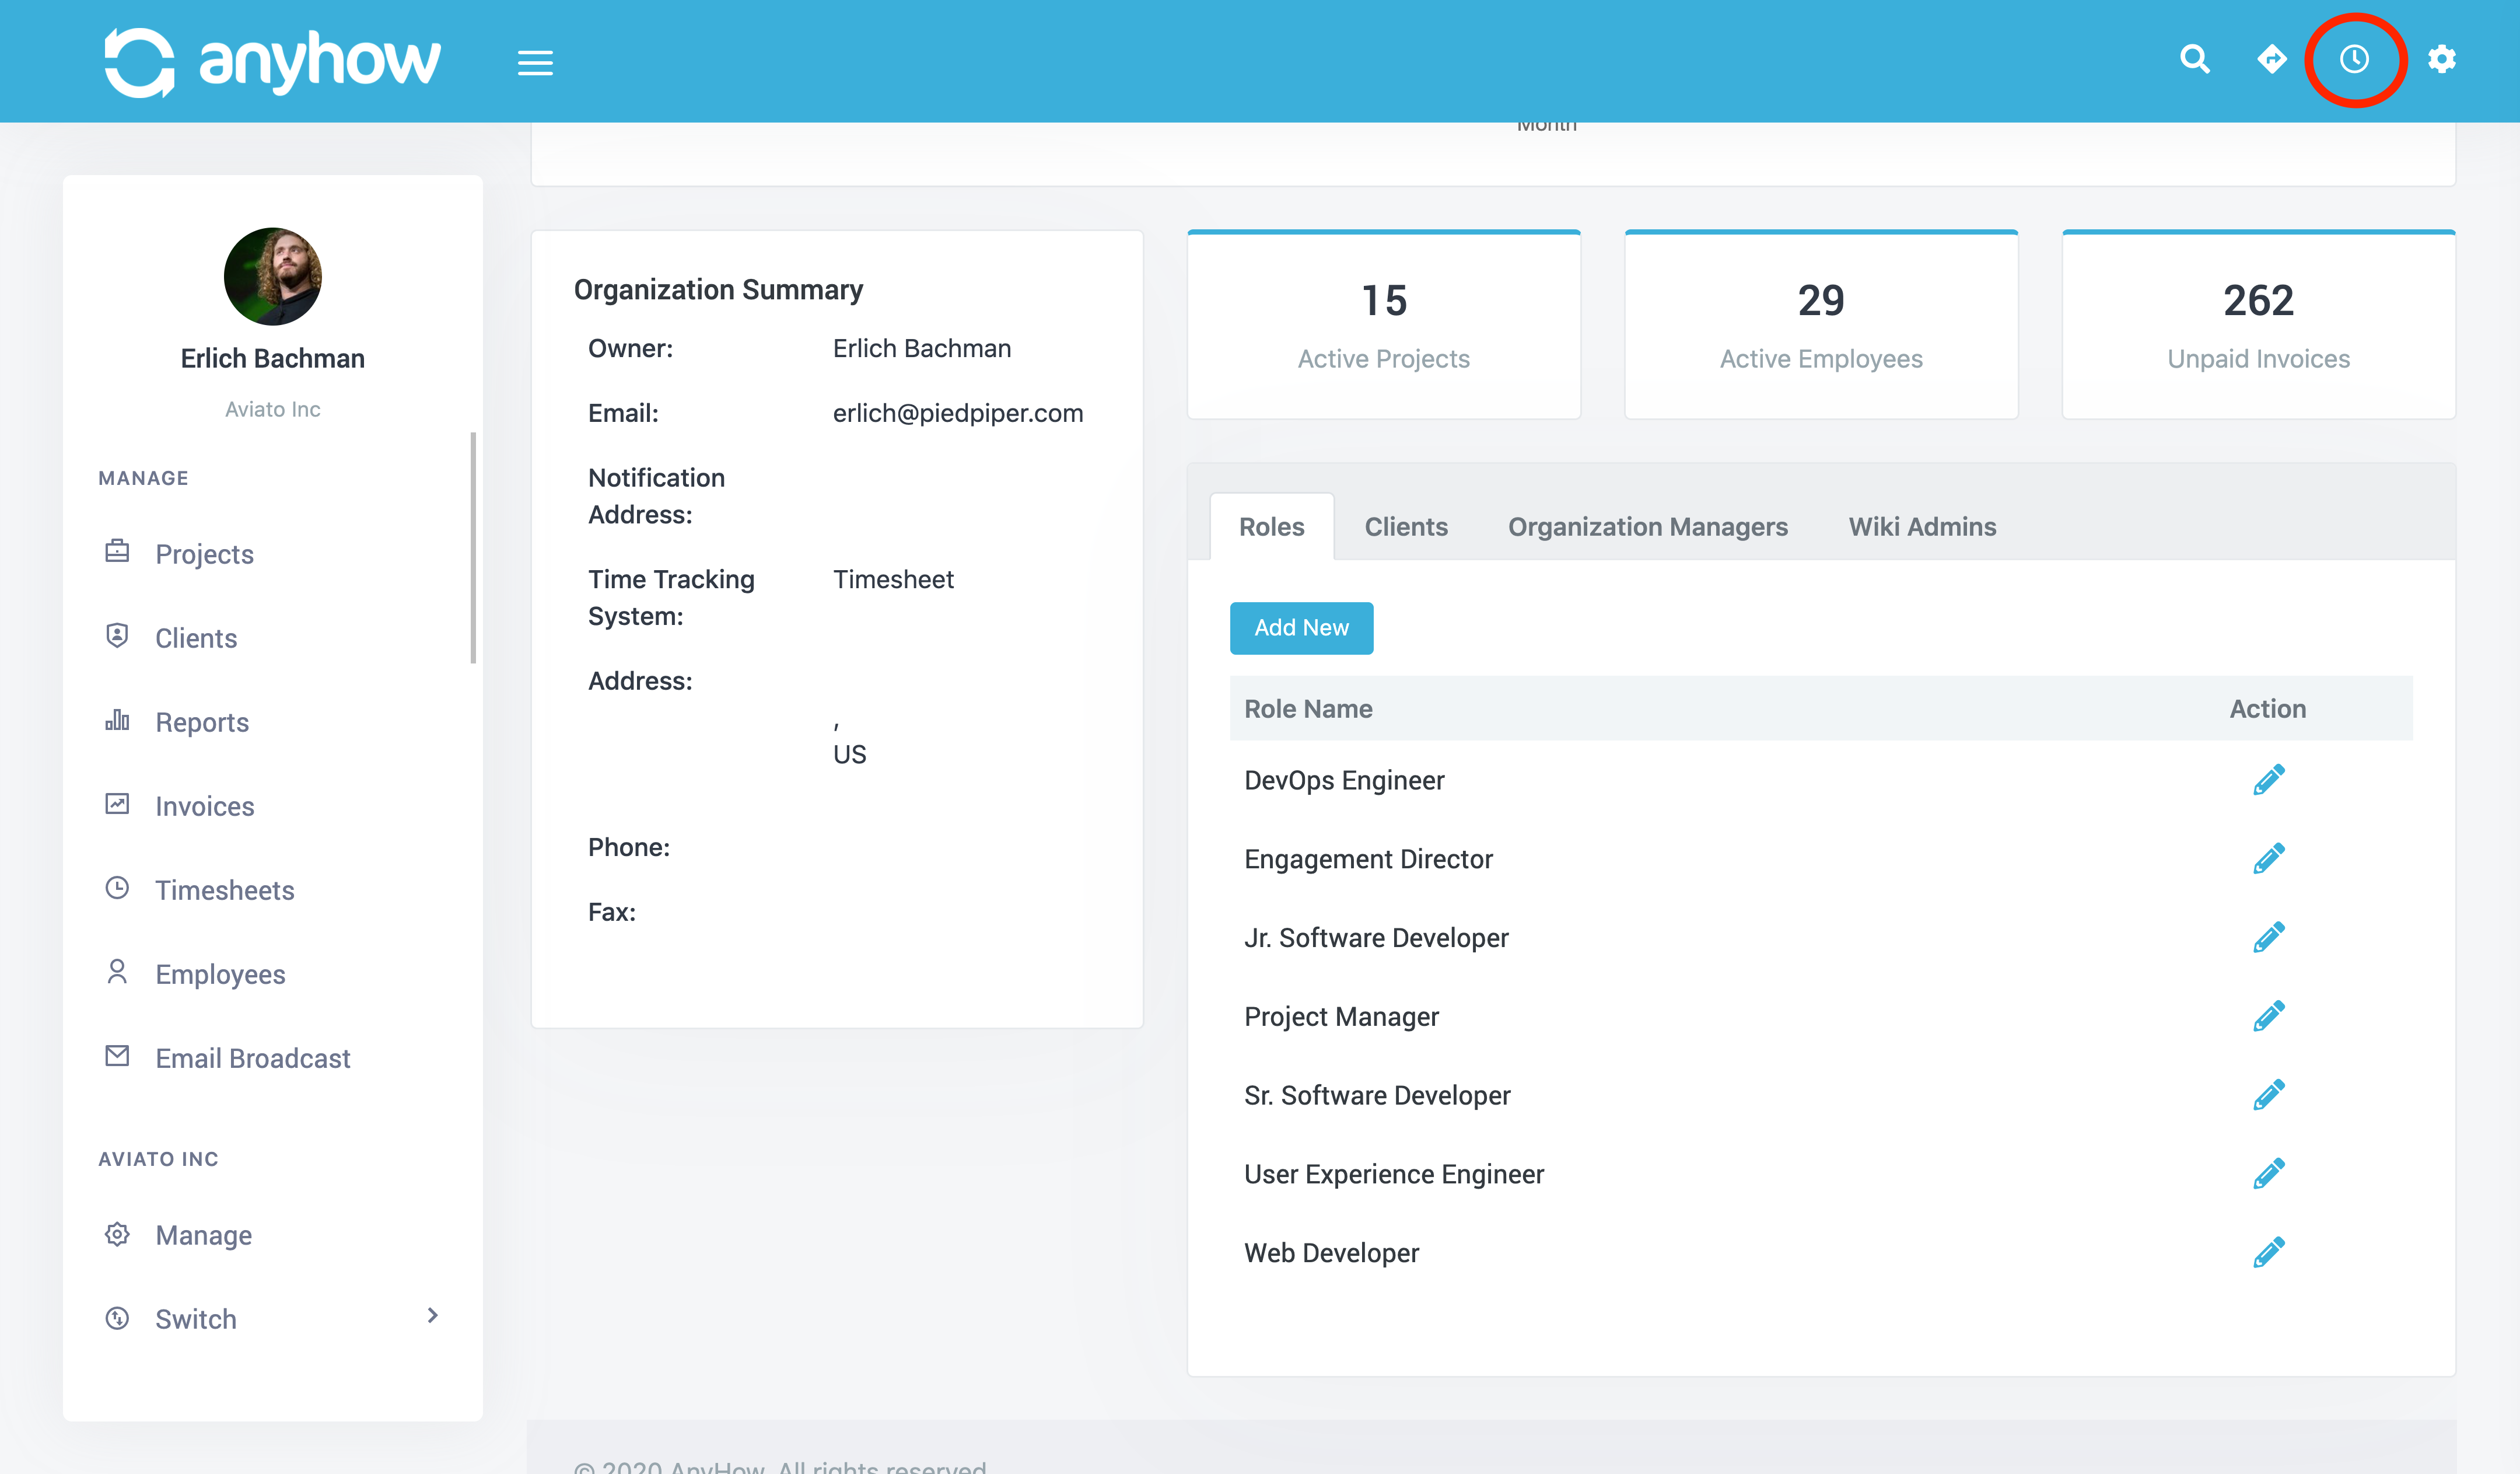
This will bring up the timer window.
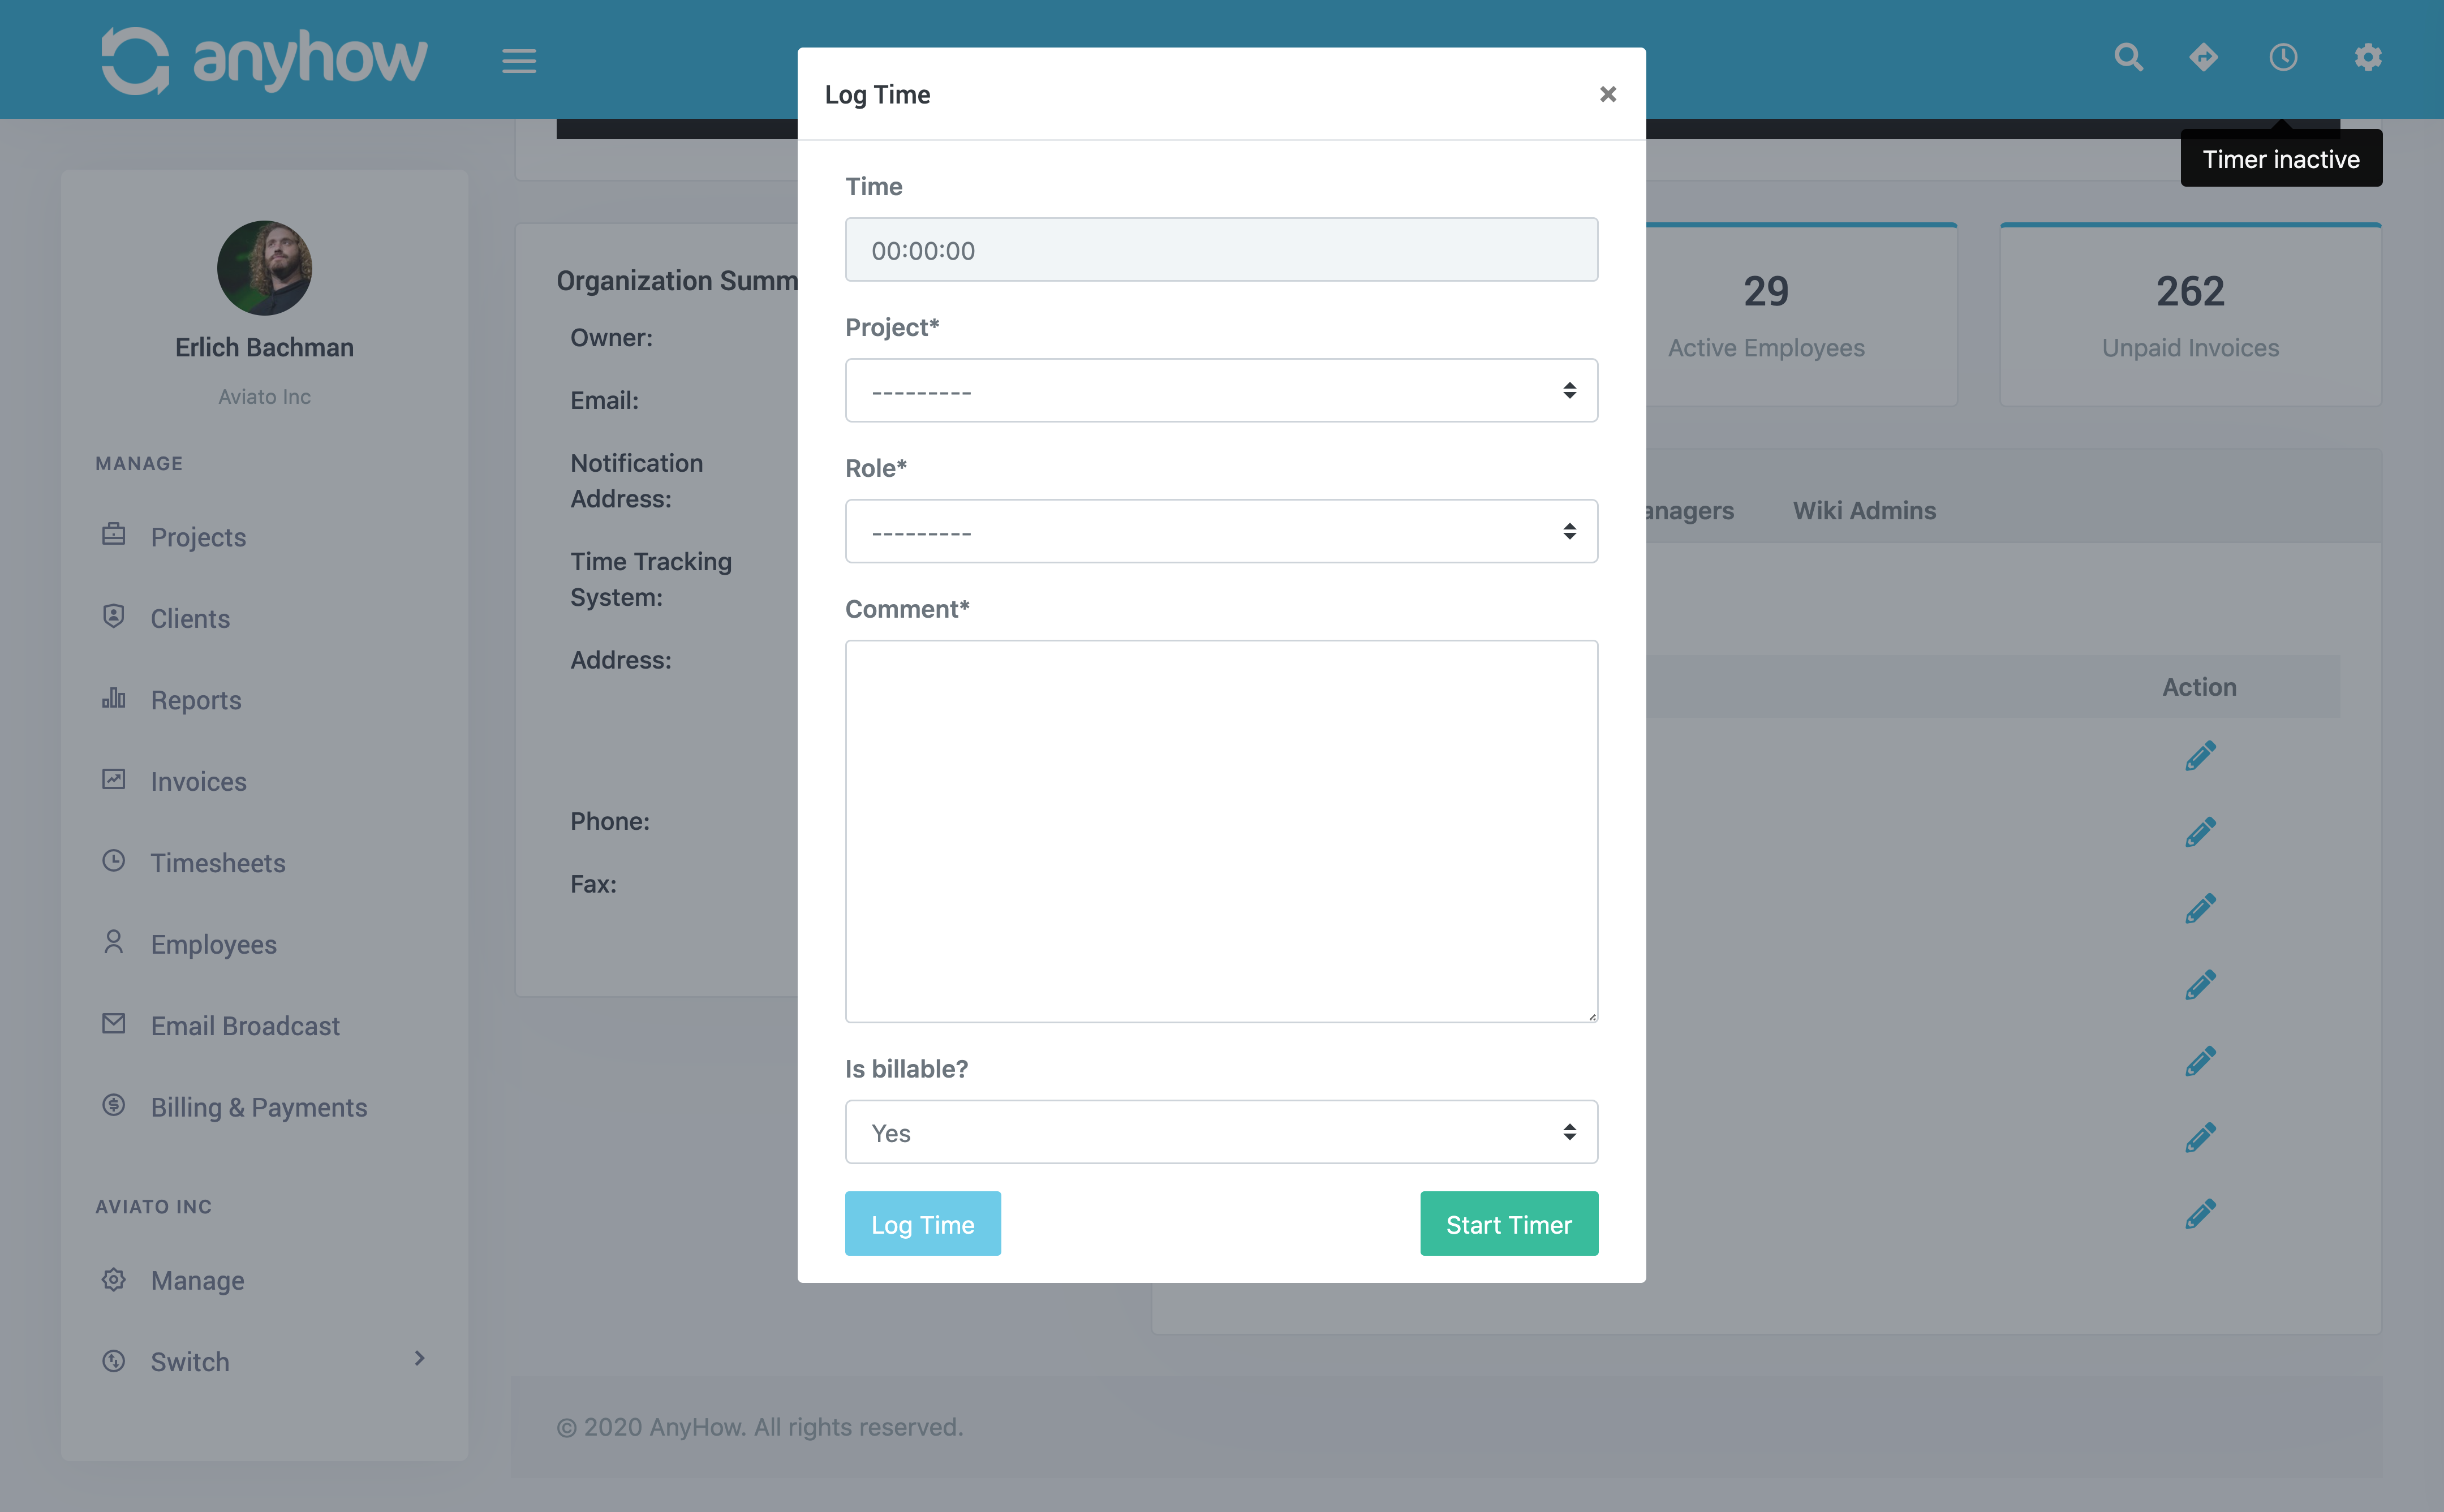
Before you can start the timer, you simply need to put in the task information. Don't worry, you can edit it before saving once you're task is complete. Enter the following:
- Project
- Project Role
- Comment - Description of the work being done.
- Billable Status - Defaults to "Yes"
- Click
Start Timer
Once the timer starts the window will disappear but the timer is running in the background.
You will notice the timer icon in the upper right hand of the AnyHow screen is now green in color. This means that the timer is actively running. You can place your mouse over the icon to see the current time elapsed on the timer.
If you'd like to take a break you can pause the timer. Simply click the icon to load the timer window back. Then click the Pause Timer button.
The window will disappear again. You can return to the timer anytime you'd like by clicking the icon and restart the timer.
You can also log your time at any point, even when the timer is running. You simply click the icon, load the timer window, make any adjustments to the form fields, and click Log Time. This will stop the timer and store the time in AnyHow.