User Preferences
Once your logged in you can manage your account preferences. This includes notification preferences, profile information, your photo, even specific preferences for any Organization(s) you belong to.
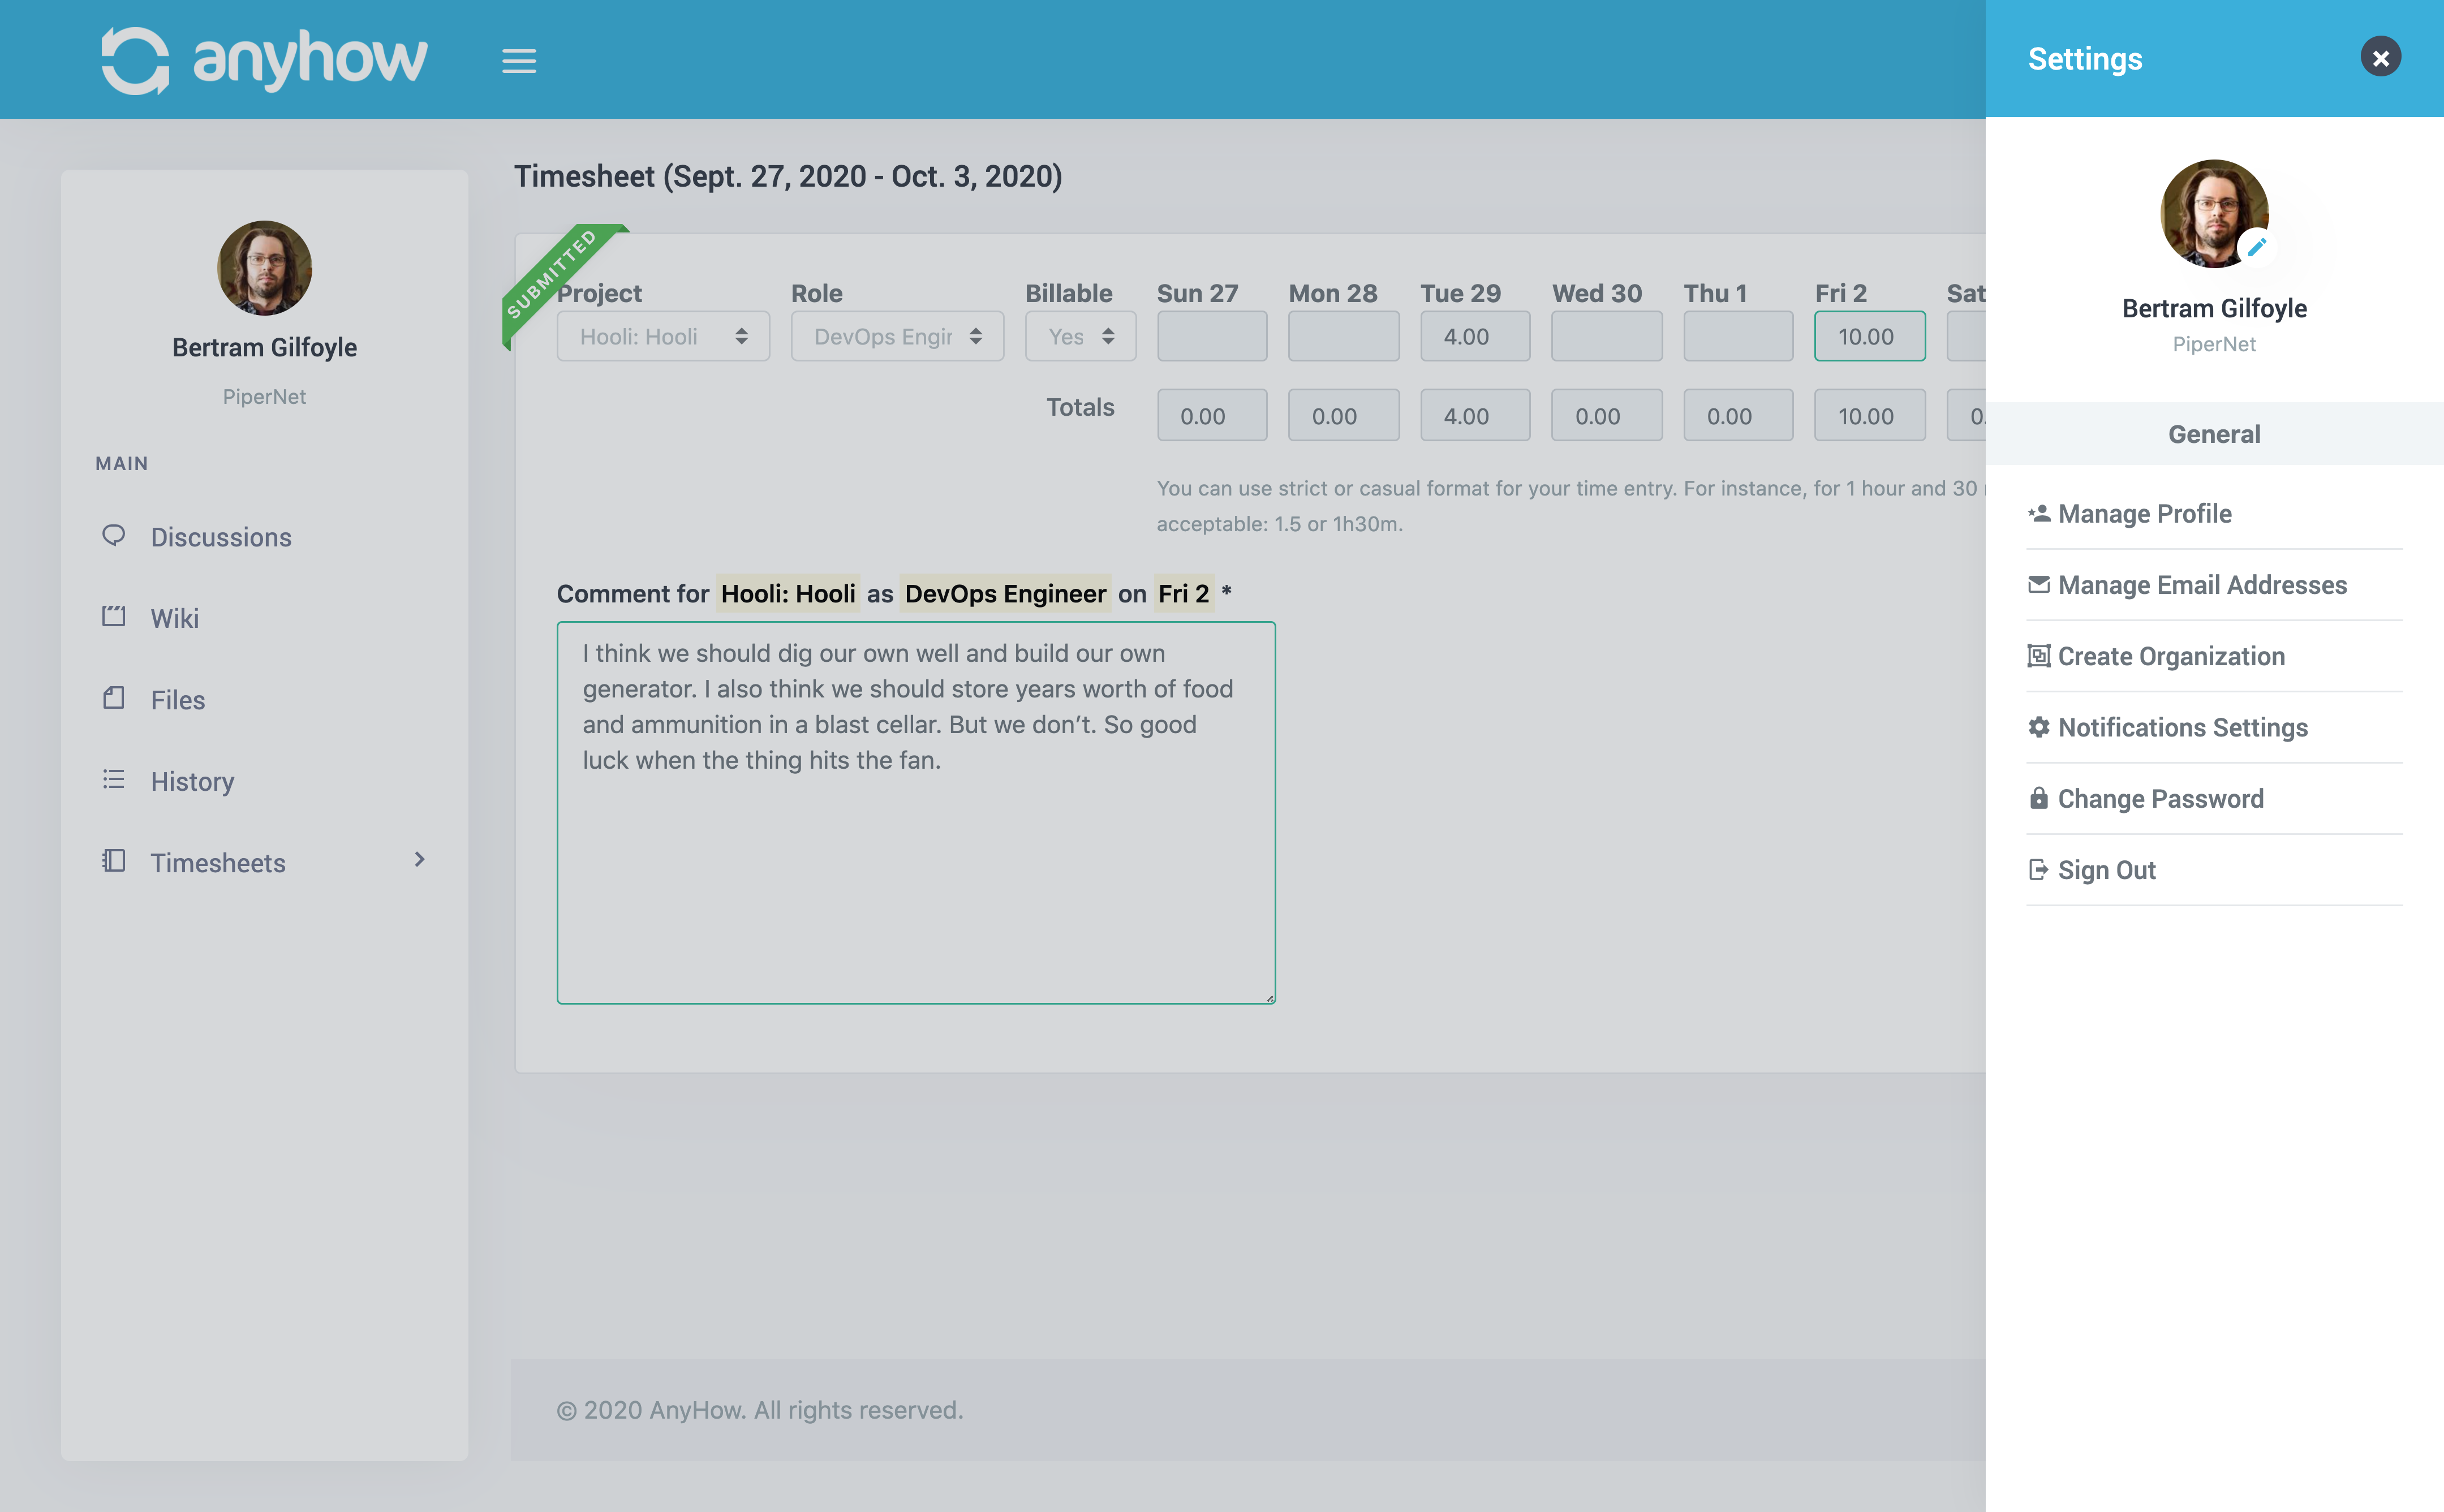
All you have to do is click the menu in the upper right corner. It will give you a list of preference related options, which are:
- Manage Profile
- Manage Email Addresses
- Notification Settings
- Change Password

Let's review each section now.
Manage Profile
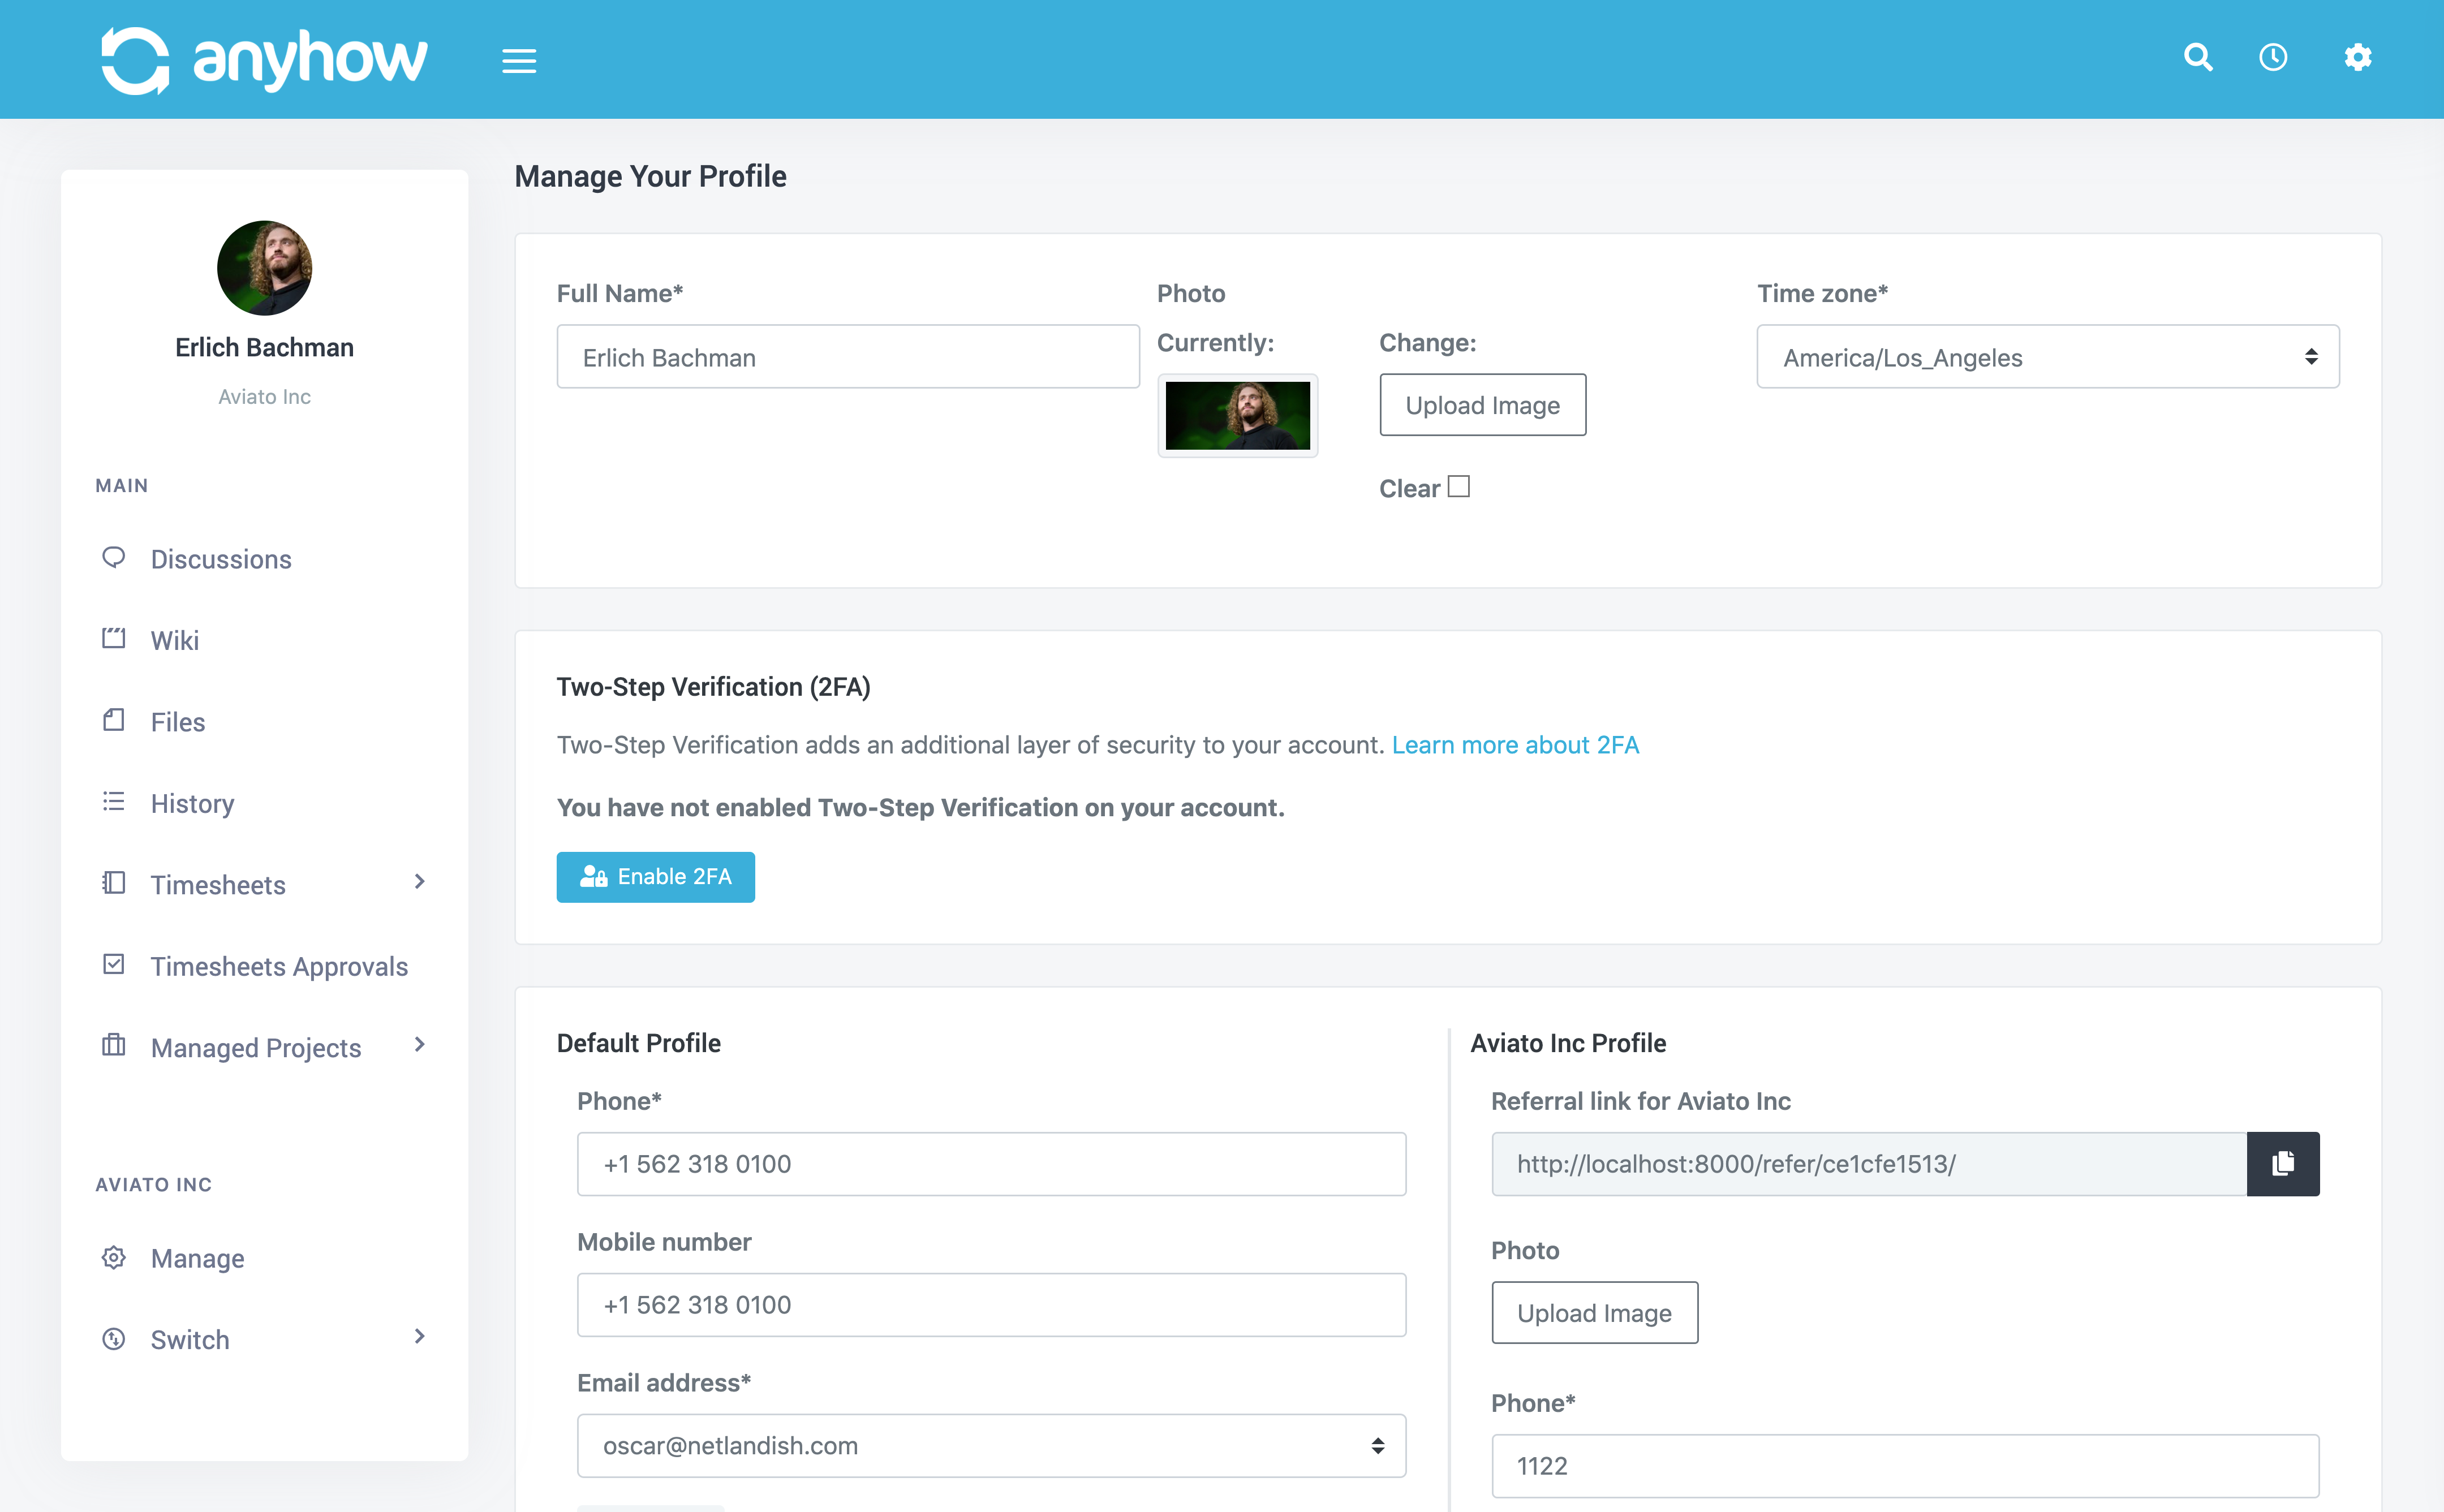
In this section you can update things like:
- Your name
- Your preferred time zone
- Your profile photo
And you can also add contact information. This is useful for when you're being added to an organization, they can have this information too. For instance, when you're a new hire for a company you can save time by having to provide all of this over and over again. In AnyHow at least :)
If you're a member of an organization then you will see the specific profile for the specific organization that you're currently signed in for on the right side of the screen. Here you can customize everything for your profile that will be used on the specific organization.
This is very useful if for example, you want to provide a different address to this organization than you would use for a different organization. Another example would be that you want to use a different profile photo for your organization profile than your normal account profile. Here is where you can update all of this.

Manage Email Addresses
Every AnyHow account have multiple email addresses registered to their account. This is very convenient because it allows you to use various work email addresses with the correct clients.
For instance, a software developer who contracts for three different clients very well can have three different email addresses. Registering each email address to your AnyHow account saves you from having to create multiple accounts just to manage your various clients. The idea is this: One account, many organizations.
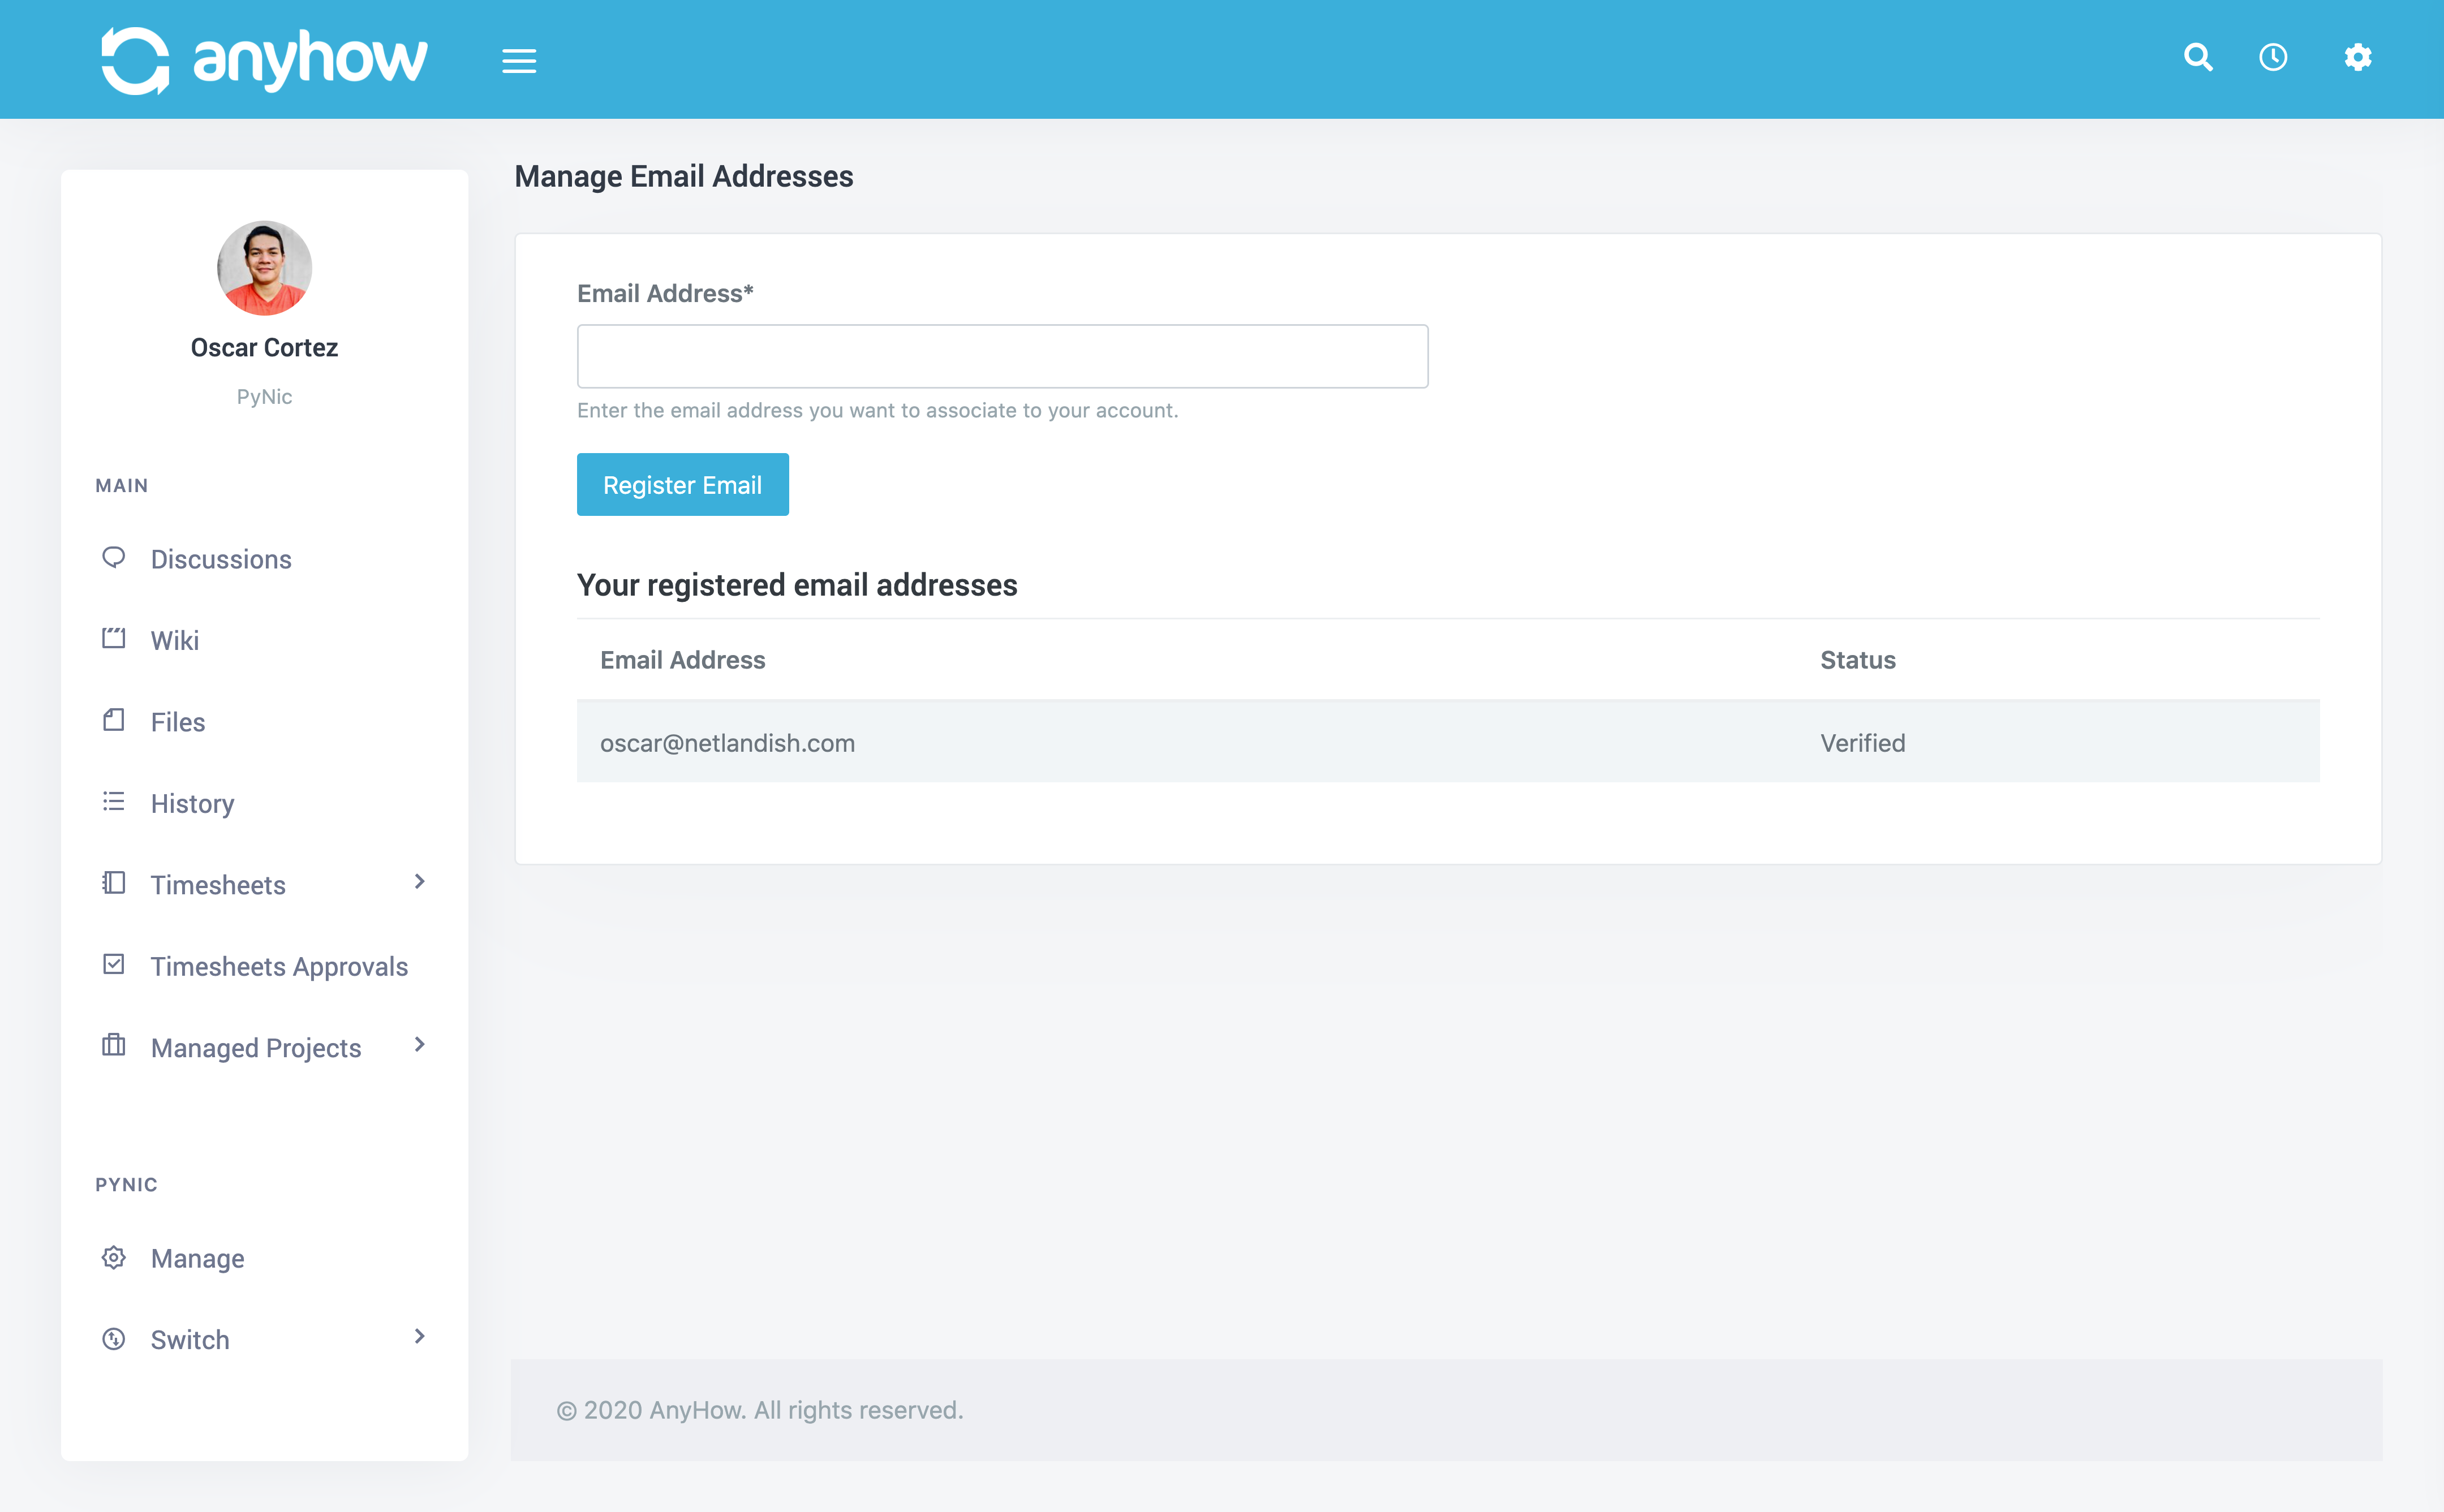
To register a new email, simply enter the email address and click the Register Email button.

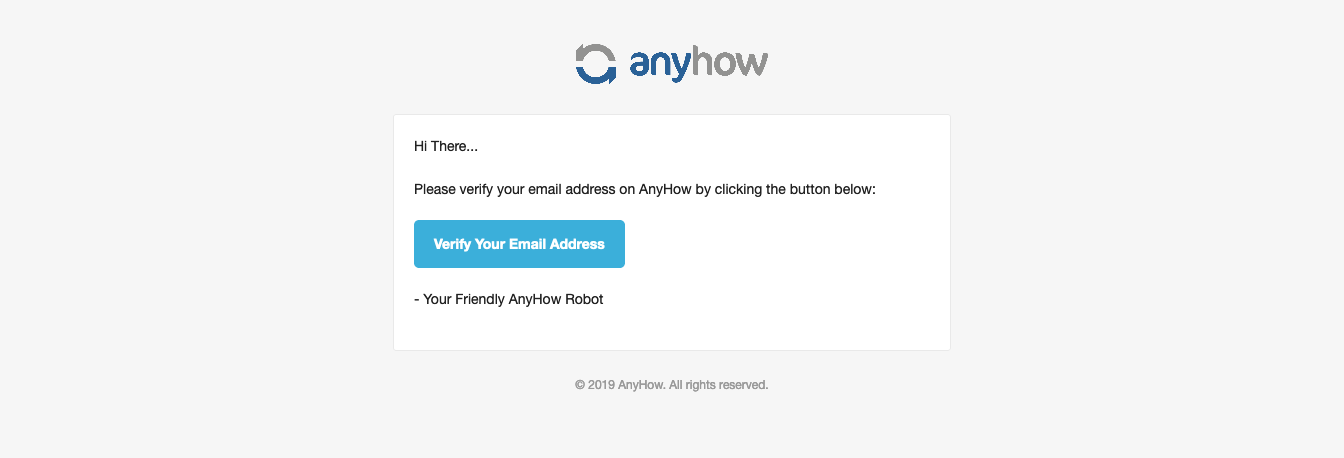
Once submitted we will send a verification email to the given email address that contains a verification link. Simply click that link and the email will be verified and added to your AnyHow account.

Below the new email address form you can see a listing of any existing registered email addresses you have in AnyHow.